


Why Cross Browser Testing?
Cross Browser testing has an important role to play in a world where everything is on your fingers. As an owner of the web application, it is important to ensure that the web application is accessible to all, regardless of their opted device. For the web application that interacts with the mass audience, it is mandatory to ensure that they make their application compatible with a large number of browsers and platforms. It will make their idea reach a wider audience.
Selenium Grid is one such tool that ensures that the web application is functioning similarly on various platforms and browsers.
Compatibility Testing with Selenium Grid
Here, we are going to demonstrate the cross-browser testing implying the following two strategies :
- Creating nodes on two different machines and performing testing on these two devices
- Using the same node machine and simultaneously stimulating cross-browser tests.
Cross Browser Testing on different devices
Pre-requisite
On your devices, download Selenium JAR and save it in the desired location.
Note: If you are using web driver executables saved on your local, then JAR should be at the location of web drivers. Here, we are utilizing Selenium Manager. Hence, the JAR location doesn’t matter in this scenario.
Setting up Hub and Node on Different Devices
- On your devices, download Selenium JAR and save it in the desired location.
- If you are using web driver executables saved on your local, then JAR should be at the location of web drivers. Here, we are utilizing Selenium Manager. Hence, the JAR location doesn’t matter in this scenario.
- Execute the below command at the location of your Selenium Grid JAR. Run this command on the device that you want to set up as your hub.
java -jar selenium-server-4.10.0.jar hub- When this blog is written, Selenium released its 4.10.0 version. Please update the version as per the latest release.
- Now on your node machine, you have to follow the below steps
- To connect with your hub machine, you have to register the node machine with the hub. We achieve it by harnessing a few Internet Transfer protocols. Execute the below command
java -jar selenium-server-4.9.1.jar node --selenium-manager true--publish-events tcp://{IP of the hub machine}:4442 --subscribe-events tcp://{IP of the hub machine}:4443
- You can gather the following information from the logs of the hub machine.
- To connect with your hub machine, you have to register the node machine with the hub. We achieve it by harnessing a few Internet Transfer protocols. Execute the below command

- When the hub starts, it initiates some events.
- XPUB and XSUB are the Socket Binding protocols. They will trigger the publishing and subscribing events on the respective nodes. 4442 is for publishing and 4443 is for subscribing events.
- TCP is used here for reliable transmission from the hub IP to the node.
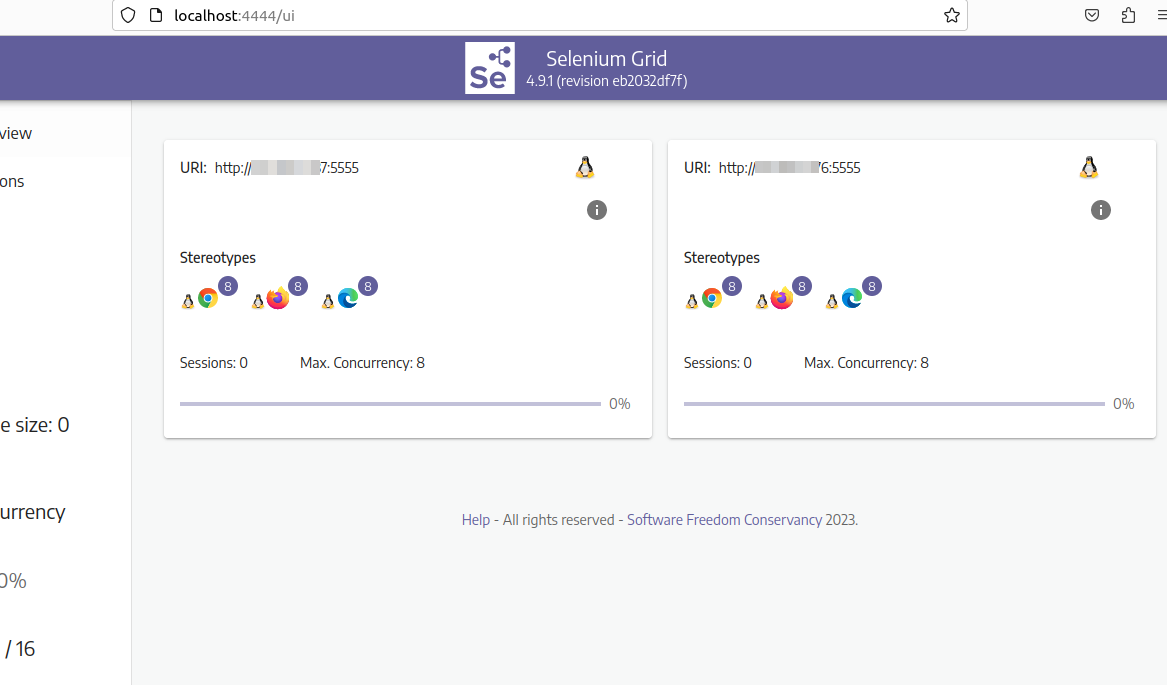
- Once executed on the node device, navigate to the link http://localhost:4444/ui
- Here, you will see two devices connected to the hub. This can be demonstrated by different IP sets.
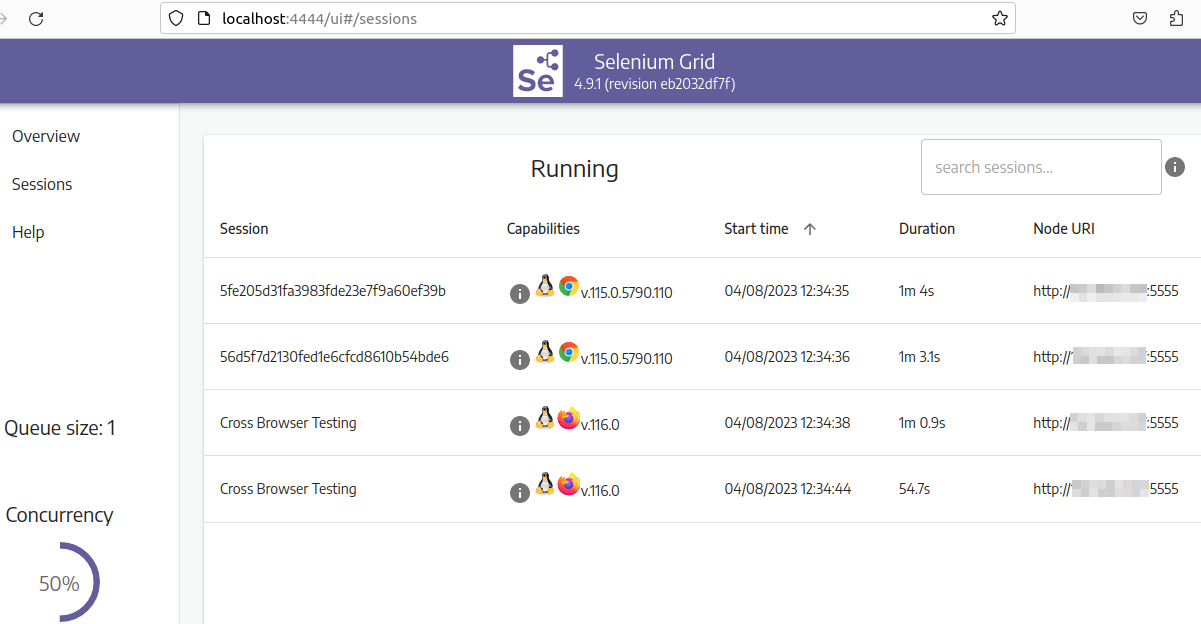
Cross Browser Testing on the same device
To execute the cross browsers tests, we are referring to the same device execution. But, we can achieve the same on cross-platforms as well. Below are the steps that we are following up to execute cross-browser tests.
Initializing the Remote Webdriver
- Add the below snippet in your Selenium project where you are initializing the Remote driver for execution.
- RemoteWebDriver is a class that controls web browsers running on remote machines. It distributes the execution on multiple platforms and browsers.
- DesiredCapabilities help you customize the behavior of the WebDriver and configure the browser for your specific test requirements.
@BeforeMethod(alwaysRun=true)
@Parameters(value = {"browser"})
public void setUp(String browser){
DesiredCapabilities desiredCapabilities=new DesiredCapabilities();
desiredCapabilities.setPlatform(Platform.LINUX);
desiredCapabilities.setBrowserName(browser);
desiredCapabilities.setCapability("se:name", "Cross Browser Testing");
driver = new RemoteWebDriver(new URL("http://{IP of the device}:4444"), desiredCapabilities);
}
Adding TestNG Configuration File
Add a TestNG runner where we can pass browser information as parameters and this information can be utilized while cross-browser execution.
<!DOCTYPE suite SYSTEM "http://testng.org/testng-1.0.dtd">
<suite name="Selenium Grid Parallel Testing Suite" parallel="tests">
    <!-- Test Configuration 1: Test Execution -->
    <test name="Test on Linux - Chrome">
        <parameter name="browser" value="chrome"/>
        <classes>
            <class name="org.tests.SubmitOrderTest"/>
        </classes>
    </test><test name="Test on Linux - Firefox">
        <parameter name="browser" value="firefox"/>
        <classes>
            <class name="org.tests.SubmitOrderTest"/>
        </classes>
    </test>
</suite>
Setting up the hub and node
Here, we are going to execute the hub and nodes on the same device.
- To execute the hub run the below command :
java -jar selenium-server-4.9.1.jar hub
- Execute the node on another terminal tab
java -jar selenium-server-4.9.1.jar node --selenium-manager true
- To read more about setting up the node and hub, read more on Getting Started For Cross Browser Testing in Selenium Grid
Conclusion
Selenium Grid proves to be an invaluable asset, particularly for web applications that heavily prioritize cross-browser compatibility, especially in the context of Direct-to-Consumer (D2C) domains like e-commerce. These domains cater to vast audiences and consumers, necessitating the seamless operation of their applications across numerous platforms and browsers. In this regard, Selenium Grid has emerged as a versatile and dependable solution, enabling efficient verification of cross-browser compatibility.
References
- https://www.selenium.dev/documentation/grid/