


Introduction
In complex applications, sending data across multiple components can become a challenge. For such situations, we need a central place where we can have all our data and just access it from there rather than handling data through multiple components. State management is the process of handling data in a organized way. In react, redux is a popular choice for managing global state. In this blog, we will learn how to work with redux in a react application and understand the concepts. So lets begin
Redux
Redux is a javascript library that manages the state of the application. It makes it easier to handle data in the application. It provides a predictable way to manage application state through a single, centralized store. By following a strict unidirectional data flow, Redux makes state management more consistent, easier to debug, and simpler to scale as your app grows.
Here are some advantages of using it:
- All data is stored at a central place. You need not share data between components while passing via props.
- It helps in improving the performance of the application by avoiding unnecessary re render and re renders a component only when data for that component has changed.
- Data is stored in the store until the page refreshes.
Basics of redux
Before proceeding, here are some terms that you need to be aware of while using redux.
- Store: It is the centralized hub where all the data is stored. Components can access the store and retrieve data from it as well as update the data by dispatching actions.
- Action: They are simple objects that tells what needs to be changed in the store. Every action must have the type property and in case any payload is required, then an additional payload. The type property tells which action is to be performed in the state.
- Reducers: They help us in updating the state based on the action provided from the component. A reducer must be a pure function. A reducer will basically take the current state and action as input and the output will be the new state after updating.
- Selectors: These are basically functions that retrieve specific data from the state.It improves performance by avoiding redundant data transformations
Let us understand the whole process, how it works.
First of all, we create a store. We initialize the store with some initial state that can be used. Then we add the Provider from react redux, which makes the store available across all components in the application.
Updating the state
Upon a certain user action, we dispatch an action from the component. For this we use useDispatch() to get the dispatch function and then use dispatch() for trigerring an action.
After dispatch, the action is sent to the reducer and it updates the state according to the action it receives. The redux store updates the store based on the value returned from the reducer.
State Retrieval Process
Components subscribe to specific parts of the state using useSelector(). This helps the component in reading the value from the store.
Whenever there is any change in the state, the subscribed components are notified and re rendered if needed.
Demo
Lets start by creating a react app. Since create-react-app is deprecated now, so we will be using vite. Use the below command to create a app:
npm create vite@latest redux-counter-appMove into your project directory and then install react redux.
npm install @reduxjs/toolkit react-reduxNow, create a store.js file with the following content. Here we use the configureStore api from reduxjs toolkit which will create a redux store. In configureStore, we define reducer under which we mention all the reducers in our application.
import { configureStore } from "@reduxjs/toolkit";
const store= configureStore({
    reducer: {   }
});

export default store;
Below is our reducer file for counter. Here we have defined the name of our slice, its initial state and the actions assiciated with it. The createSlice api is again imported from reduxjs toolkit. In reducers we have mentioned four actions – increment, decrement, incrementByValue and decrementByValue. And at last we export the actions and the reducer so that it can be accessed outside this file.
import { createSlice } from '@reduxjs/toolkit';

const counterSlice = createSlice({
    name: 'counter',
    initialState: { countValue: 0},
    reducers: {
        increment: (state) => { state.countValue +=1; },
        decrement: (state) => { state.countValue -= 1; },
        incrementByValue: (state,action) => { state.countValue += action.payload; },
        decrementByValue: (state,action) => { state.countValue -= action.payload; }
    }
});

export const { increment, decrement, incrementByValue, decrementByValue } = counterSlice.actions;
export default counterSlice.reducer;
Now when the reducer is completed, we can mention it in our store.js. The counterReducer is the name of our reducer that we have defined in reducer file and counter is the name
import { configureStore } from "@reduxjs/toolkit";
import counterReducer from './counterReducer';

const store= configureStore({
    reducer: {
        counter: counterReducer
    }
});

export default store;
Once the store set up is complete, we can use Provider to use it in the whole app. Update your main.jsx with the given content
createRoot(document.getElementById('root')).render(
  <Provider store={store}>
    <App/>
  </Provider>,
)
Next, create a Counter component and add this. Here we are using useSelector to get the value of the counter from the store. And using dispatch to update its value in the store.
import { useSelector, useDispatch } from "react-redux"
import { increment, incrementByValue, decrement, decrementByValue } from "./counterReducer";

const CounterComponent = () => {
    const count = useSelector((state) => state.counter.countValue);
    const dispatch = useDispatch();

    return(
        <>
            <h2>Counter App</h2>
            <h6>Count Value: {count}</h6>
            <button onClick={() => dispatch(increment())}>Increment</button>
            <button onClick={() => dispatch(decrement())}>Decrement</button>
            <button onClick={() => dispatch(incrementByValue(10))}>Increment by 10</button>
            <button onClick={() => dispatch(decrementByValue(10))}>Decrement by 10</button>
        </>
    )
}

export default CounterComponent;
Now that we have created the component to use our store we just need to call it in our App.jsx
import './App.css'
import CounterComponent from './Counter'
function App() {
return (
<>
<div>
<CounterComponent/>
</div>
</>
)
}
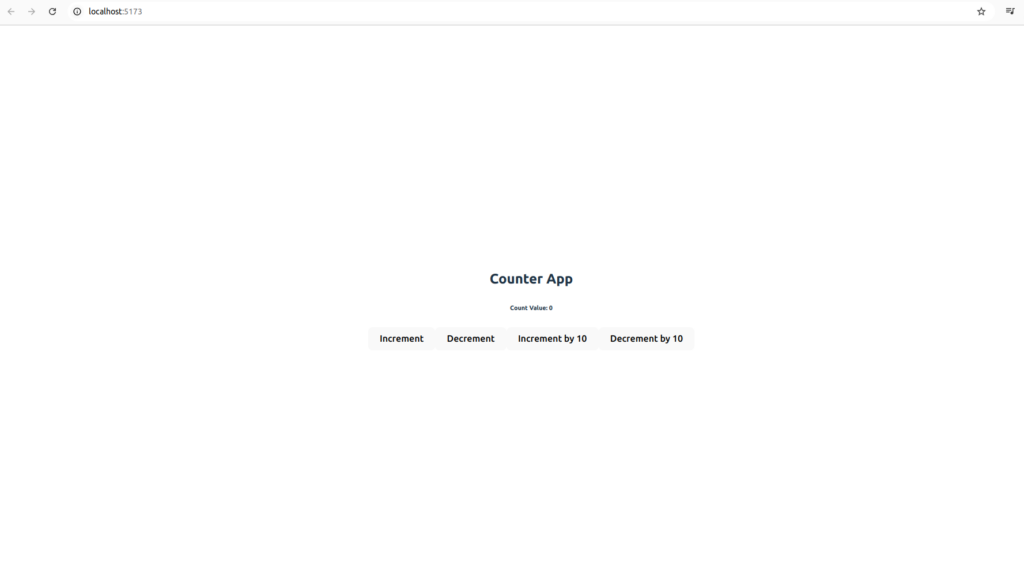
export default AppFinally, we are good to run the application to check the implementation. Run the given command to start your application
npm run devAnd you will be able to see something like this
Conclusion
In this tutorial, we built a simple yet powerful Counter app using redux and vite. We covered the entire Redux flow—from setting up the store and creating slices to connecting React components using useSelector and useDispatch. With Redux Toolkit, managing state becomes more efficient, structured, and easier to scale.
By understanding these fundamentals, you’re now ready to build more complex applications with Redux and React.
Finally, for more such posts like this, please follow our LinkedIn page- FrontEnd Competency.