


Performance and efficiency are key components in the dynamic world of Java development necessary to create reliable apps. GraalVM is one cutting-edge technology that meets these demands. When paired with Spring Boot, GraalVM provides an effective framework for developing scalable, performant, and efficient applications. This blog article will walk you through configuring a Spring Boot application with GraalVM, emphasizing the main advantages and first steps.
GraalVM: What is it?
GraalVM is a sophisticated runtime that offers notable enhancements in memory consumption and application performance. With its polyglot virtual machine, developers may run programs created in various languages, including Python, Ruby, JavaScript, and more. The capacity to compile Java programs into native executables, which leads to quicker startup times and a smaller memory footprint, is one of its most notable characteristics.
Benefits of Using GraalVM with Spring Boot
- Enhanced Performance: Compared to conventional JVM-based apps, native images produced by GraalVM can start much faster and consume less memory.
- Polyglot Features: With GraalVM, you can easily combine code from several programming languages, increasing the adaptability of your Spring Boot apps.
- Enhanced Tooling: GraalVM offers several tools for monitoring, profiling, and debugging your apps. These tools can help you find problems fast and optimize performance.
Prerequisites
Make sure the following is installed on your machine before you start:
- JDK 11 or later
- The Community or Enterprise Edition of GraalVM
- Spring Boot CLI with Gradle or Maven
GraalVM Step-by-Step Instructions for Configuring a Spring Boot Application:
1. Install GraalVM
Download and install GraalVM from the official website. Follow the instructions specific to your operating system.
Note: The below code snippets are executed on a Linux Machine:
tar -xvzf graalvm-ce-java11-linux-amd64-<version>.tar.gz
sudo mv graalvm-ce-java11-<version> /usr/lib/jvm/
export PATH=/usr/lib/jvm/graalvm-ce-java11-<version>/bin:$PATH
Verify the installation by running:
java --versionYou should see GraalVM as the output:

2. Install Native Image
The native-image tool is necessary for compiling your Spring Boot application into a native executable. Install it using GraalVM’s package manager:
gu install native-image3. Create a Spring Boot Application
Use Spring Initializr or Spring Boot CLI to create a new Spring Boot application. For instance, using Spring Boot CLI:
spring init --dependencies=web graalvm-demo-app
cd graalvm-demo-app
Alternatively, you can create a project through the Spring Initializr web interface, selecting dependencies like Spring Web.
4. Configure Your Application for GraalVM
Add the necessary GraalVM dependencies to your pom.xml (if using Maven) or build.gradle (if using Gradle).
For Maven, add:
<dependency>
    <groupId>org.springframework.experimental</groupId>
    <artifactId>spring-graalvm-native</artifactId>
    <version>0.8.5</version>
</dependency>
or the below plugin can solve the purpose as well:
<plugin>
    <groupId>org.graalvm.buildtools</groupId>
    <artifactId>native-maven-plugin</artifactId>
    <!-- <version>${native-maven-plugin.version}</version> Uncomment this line if you want to specify a specific version -->
    <executions>
        <execution>
            <id>build-native</id>
            <goals>
                <goal>compile-no-fork</goal>
            </goals>
        </execution>
    </executions>
    <configuration>
        <imageName>product-service</imageName>
        <mainClass>com.graalvm.product.ProductApplication</mainClass>
    </configuration>
</plugin>
5. Update Application Properties
GraalVM requires some specific configuration for Spring Boot applications. Update your application.properties file:
spring.main.lazy-initialization=true
spring.native.remove-yaml-support=true
6. Build the Native Image
To build a native image, navigate to your project directory and run the following command:
mvn package -Pnativeor, if using Gradle:
./gradlew buildNativeThis process might take some time as it performs a comprehensive analysis and compilation of your application into a native executable. You will see the below logs starting to pop up in the process of creating the Native Image.


7. Run the Native Executable
After the build process completes, you can find the native executable in the target (for Maven) or build/native-image (for Gradle) directory. Run the executable using:
cd target
./graalvm-demo-app
You should see your Spring Boot application start up much faster than it would on a traditional JVM.
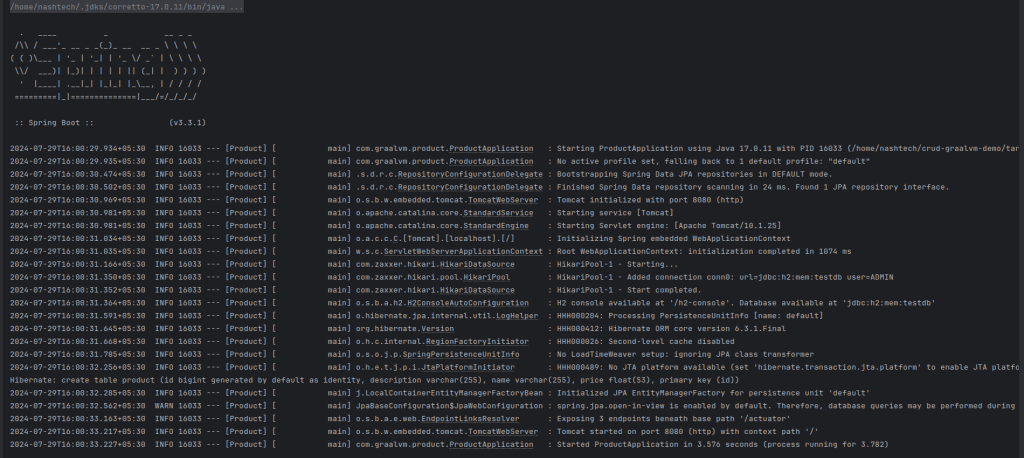
e.g [Using JVM]
The application startup time: 3.576 seconds
e.g [Using GraalVM]
The application startup time: 0.196 seconds

Diagnostics and Enhancement
Even if it’s simple to set up GraalVM with Spring Boot, there could be some difficulties. Here are some pointers:
- Reflection Configuration: Explicit configuration for reflection is necessary for GraalVM’s native image compilation. To make this procedure simpler, use the Spring Native project.
- Debugging: If problems arise during the native image build process, use GraalVM’s debugging tools to profile and diagnose your program.
Conclusion
The combination of GraalVM with Spring Boot can revolutionize the way Java developers create high-performing apps. With its quick startup times, low memory consumption, and multi-language compatibility, GraalVM is a very useful tool for contemporary Java development. You can use GraalVM to set up your Spring Boot application and fully utilize this formidable technology by following the instructions provided in this article.
Have fun with Coding!
Additional resources and references: