


In the article “Taiko – An Introduction”, we learned about Taiko, a low-code automation tool. We also learned that Taiko can be integrated with a test framework to make it easier to maintain and extend. In this article, I will show you how to integrate Taiko with Gauge to build an automation framework.
I. Gauge Introduction
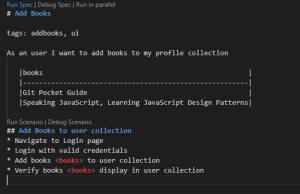
Gauge is a free and open-source framework that makes it easy to write readable and reusable acceptance tests. It features Markdown specifications, data-driven execution, parallel execution, and reporting, which can help you maintain your tests with ease.
Gauge has excellent support for Visual Code, making it easy to write, run, and debug your tests.
II. Benefits of Gauge
Readable and reusable: Gauge tests are written in Markdown, which is a lightweight markup language that is easy to read and write. This makes it easy for non-technical stakeholders to understand the tests and for testers to reuse them.
Language agnostic: Gauge supports multiple programming languages, including Java, C#, Ruby, JavaScript and Python, which allows teams to use the language they are most comfortable with.
Collaborative: Gauge’s plain-text format makes it easy for team members to collaborate and review tests.
Support Data-driven test: Gauge supports data-driven testing, which allows you to run the same test multiple times with different data sets
Integration: Gauge can be integrated with a variety of tools, such as Selenium, Appium, or Taiko, to support a wide range of testing needs.
Extensibility: Gauge is extensible, which means that you can add new features and functionality to the framework. This can be useful for meeting the specific needs of your project.
Built-in Reporting: Gauge generates reports that summarize the results of your tests. This can be helpful for tracking the progress of your testing and identifying any issues.
Open source: Gauge is released under the Apache License, Version 2.0, which means that it is free to use and modify.
III. Taiko + Gauge Test Framework setup
a. Install Gauge
There are various ways to install Gauge. However, I recommend installing it using the Windows Installer. You can download the installer from this link: Gauge Installer Download

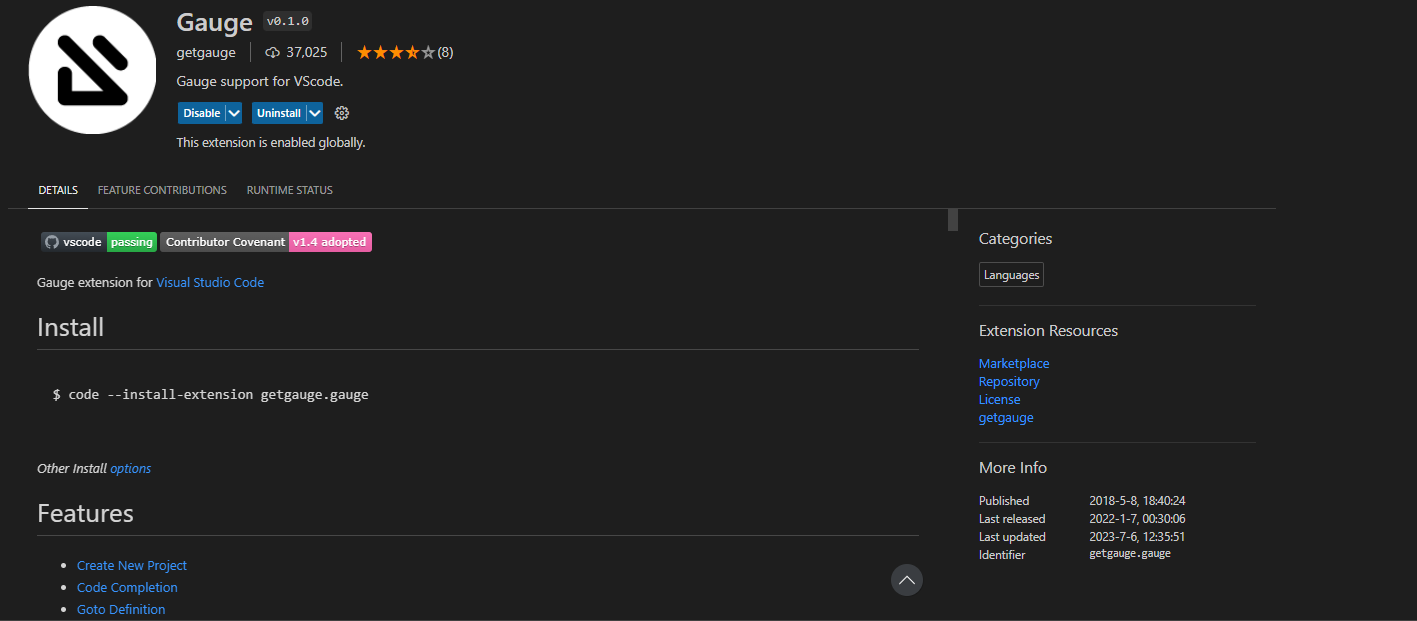
b. Install Gauge Extension for Visual Code
You can search “Gauge” in Visual Code Extension Page then install it.
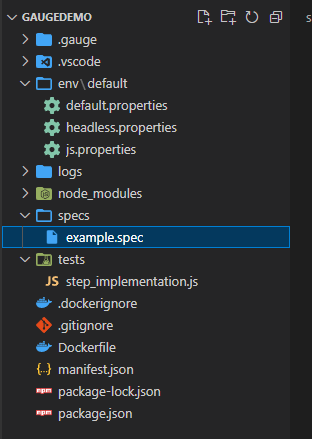
c. Create Gauge project
Once the Gauge extension for Visual Studio Code is installed, you can use the Gauge command to create a new project with various templates for different programming languages.

Since Taiko uses JavaScript, we can create a Gauge project with the JavaScript template.

After selecting the JavaScript template, you can choose a location to create a new folder for the project and name the project. The new project will then be created successfully.
d. Install Taiko to Gauge project
To install Taiko to a Gauge project, you can simply open a terminal and run the following command: npm install -D taiko
Then Taiko will be installed to our project successfully

e. Usage:
To use Taiko’s API, we can simply import it into our file. For example:

IV. Conclusion
In conclusion, Taiko and Gauge together make a good combination for automating tests. Taiko is a low code automation tool which is easy to learn and use, even for beginners. While Gauge provides the flexibility, extensibility, readable tests, and easy configuration that you need to automate the tests. If you are looking for an automation framework that is easy to use, flexible, and extensible, then Taiko and Gauge are a good choice.
I hope that after reading this article, you will be able to set up an automation framework with Taiko and Gauge on your own.
References:
https://gauge.org/ -> Official Website
https://docs.gauge.org/ -> Documentation
https://github.com/getgauge/gauge -> Gauge Github Source Code