


Introduction to Zeus Cloud
Zeus Cloud is an open-source security platform.
Cloud environments harbor numerous security risks, ranging from misconfigurations and vulnerabilities to overprivileged identities and plaintext secrets. It acts as a proactive solution in cloud security, empowering users to uncover, prioritize, and address their cloud-related risks effectively. Zeus Cloud facilities risk discovery, prioritization, and remediation in the cloud environment.
In this blog, we will see how to setup Zeus Cloud and add AWS accounts to scan for potential threats.
Setup Zeus Cloud
I am hosting Zeus Cloud on an EC2 instance, but you can also run in your local.
Here are the steps to host the Zeus Cloud in an AWS instance.
- Launch an Ubuntu instance and open port 22 and 80
- Install make and docker/docker-compose
- Clone the Zeus cloud repository
git clone –recurse-submodules https://github.com/Zeus-Labs/ZeusCloud.git
- Change the env variables to include your pod IP
WEBSITE_DOMAIN=’http://<POD-PUBLIC-IP>:80
REACT_APP_API_DOMAIN=’http://<POD-PUBLIC-IP>:80 - Run the script
make quick-deploy - Open <POD-IP>:80 in the web browser
Once it is up and running, we can add our AWS accounts to scan for security.
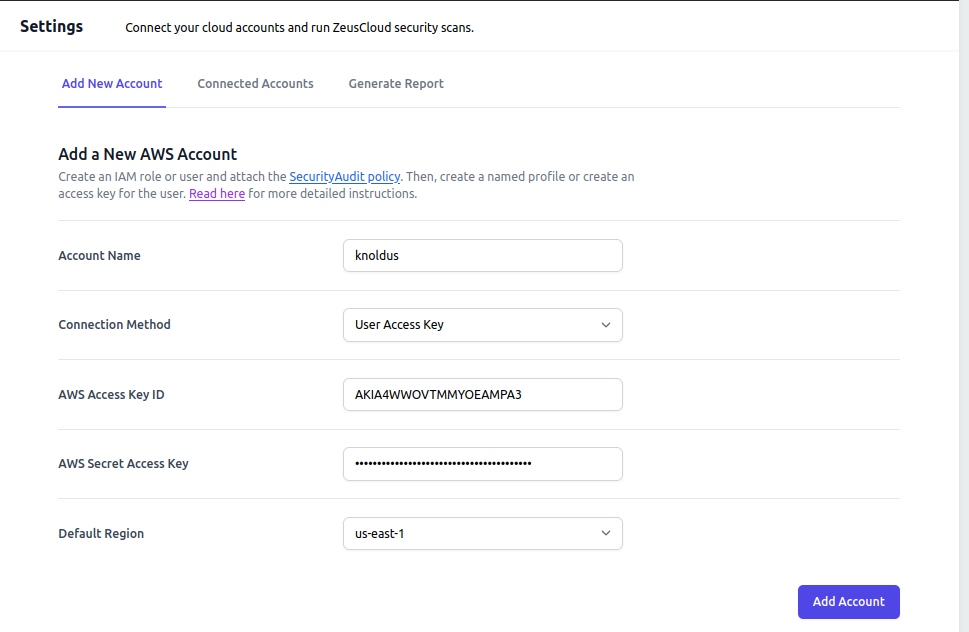
Add New Account in Zeus Cloud

First, Add Account Name and change the Connection Method to User Access Key.
Make sure you have suitable AWS access credentials. Add AWS Access Key ID and AWS Secret Access Key. You can set the default region to any.
[The IAM security credentials you have entered should have SecurityAudit Policy attached to it.]
Click on Add Account.
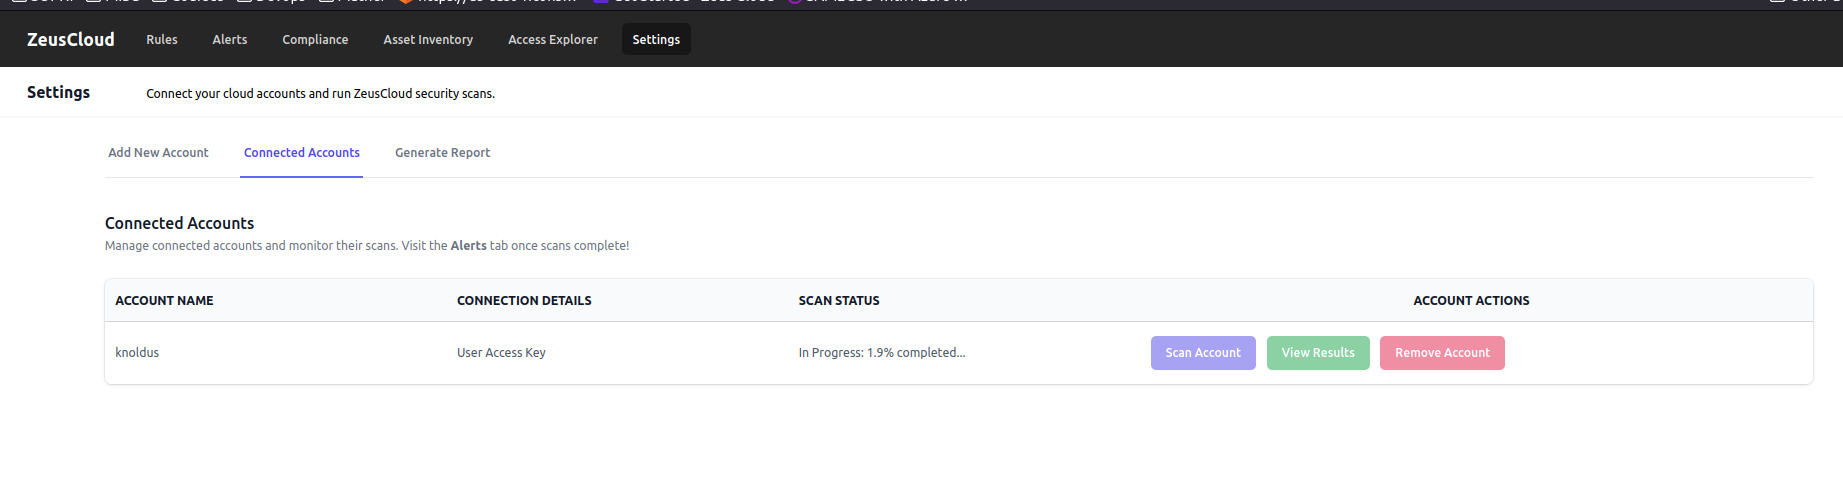
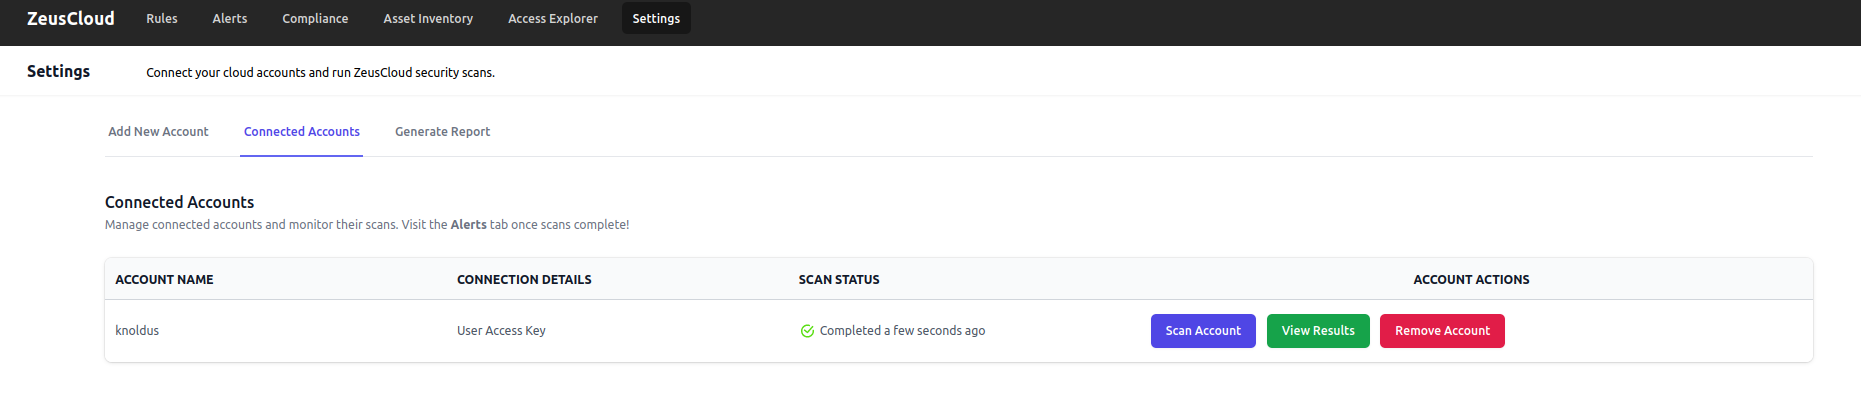
Once its added, it will begin scanning your account for any vulnerabilities.
Visualisation in Zeus Cloud
Click on View Details.
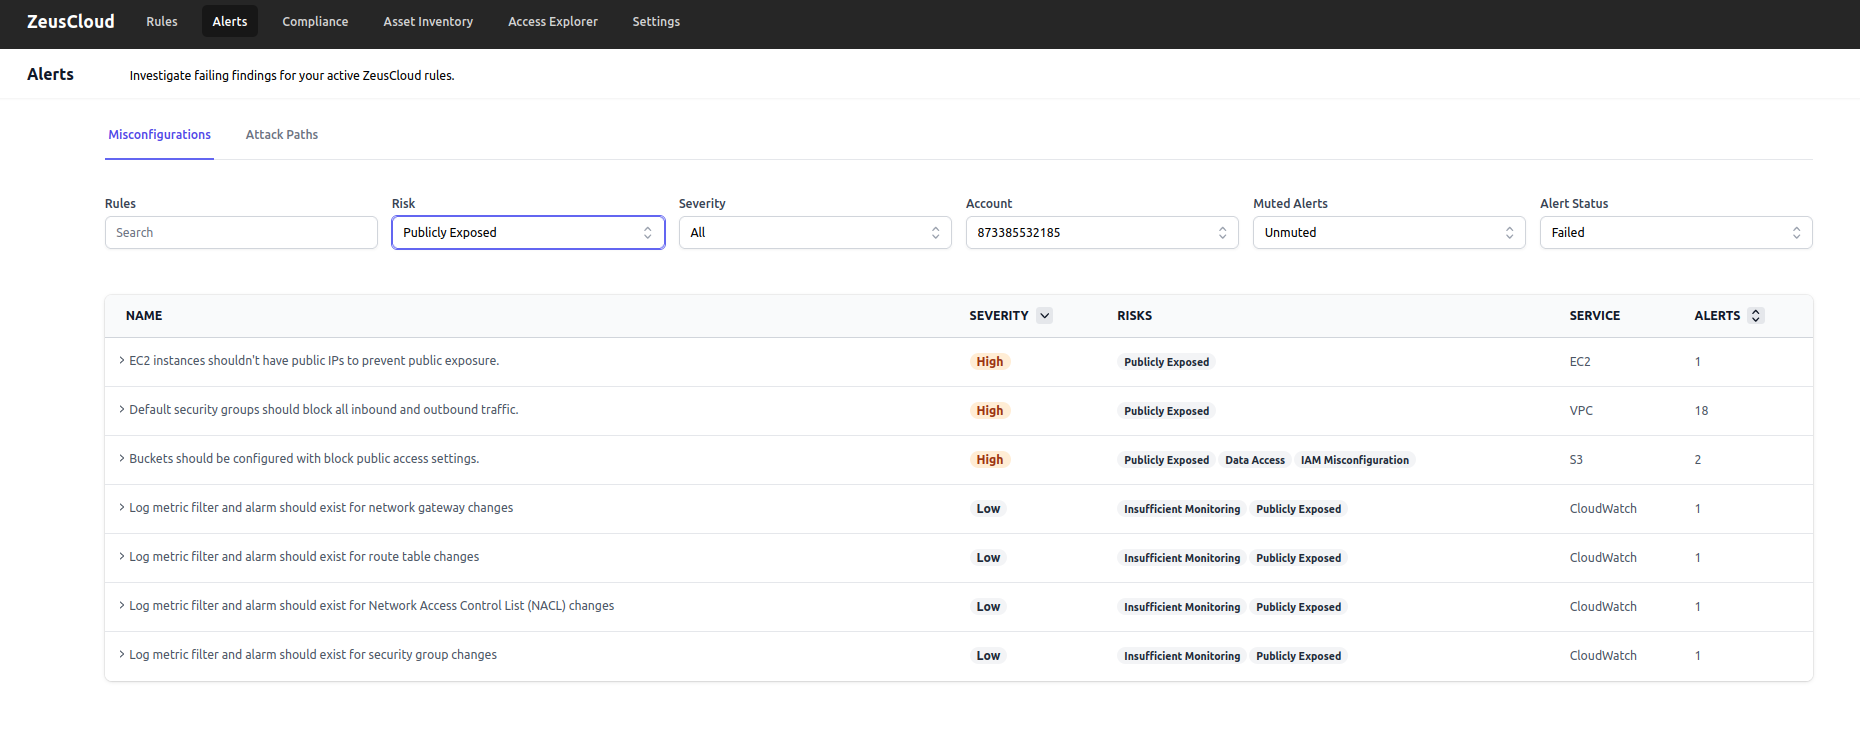
It will take you to the Misconfigurations page which has all the Alerts.
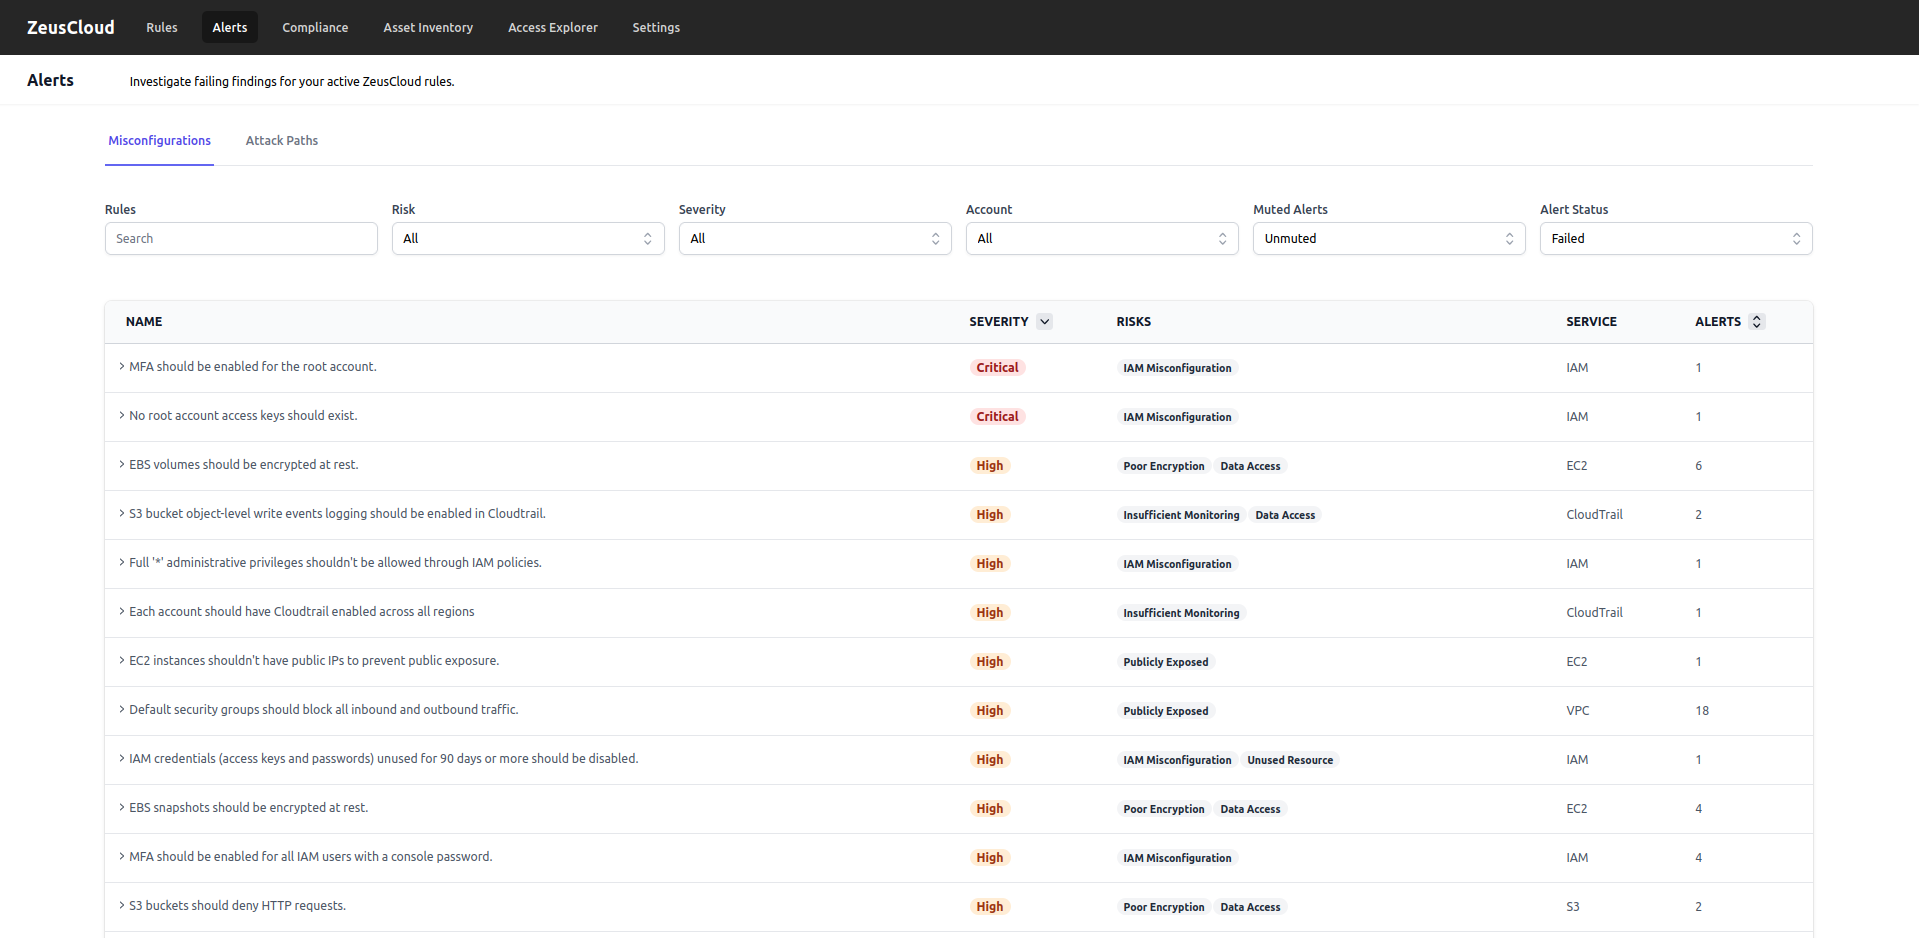
You can use filters to refine your search. I have added Publicly Exposed to see what resources are publicly available for which the Alert has Failed.
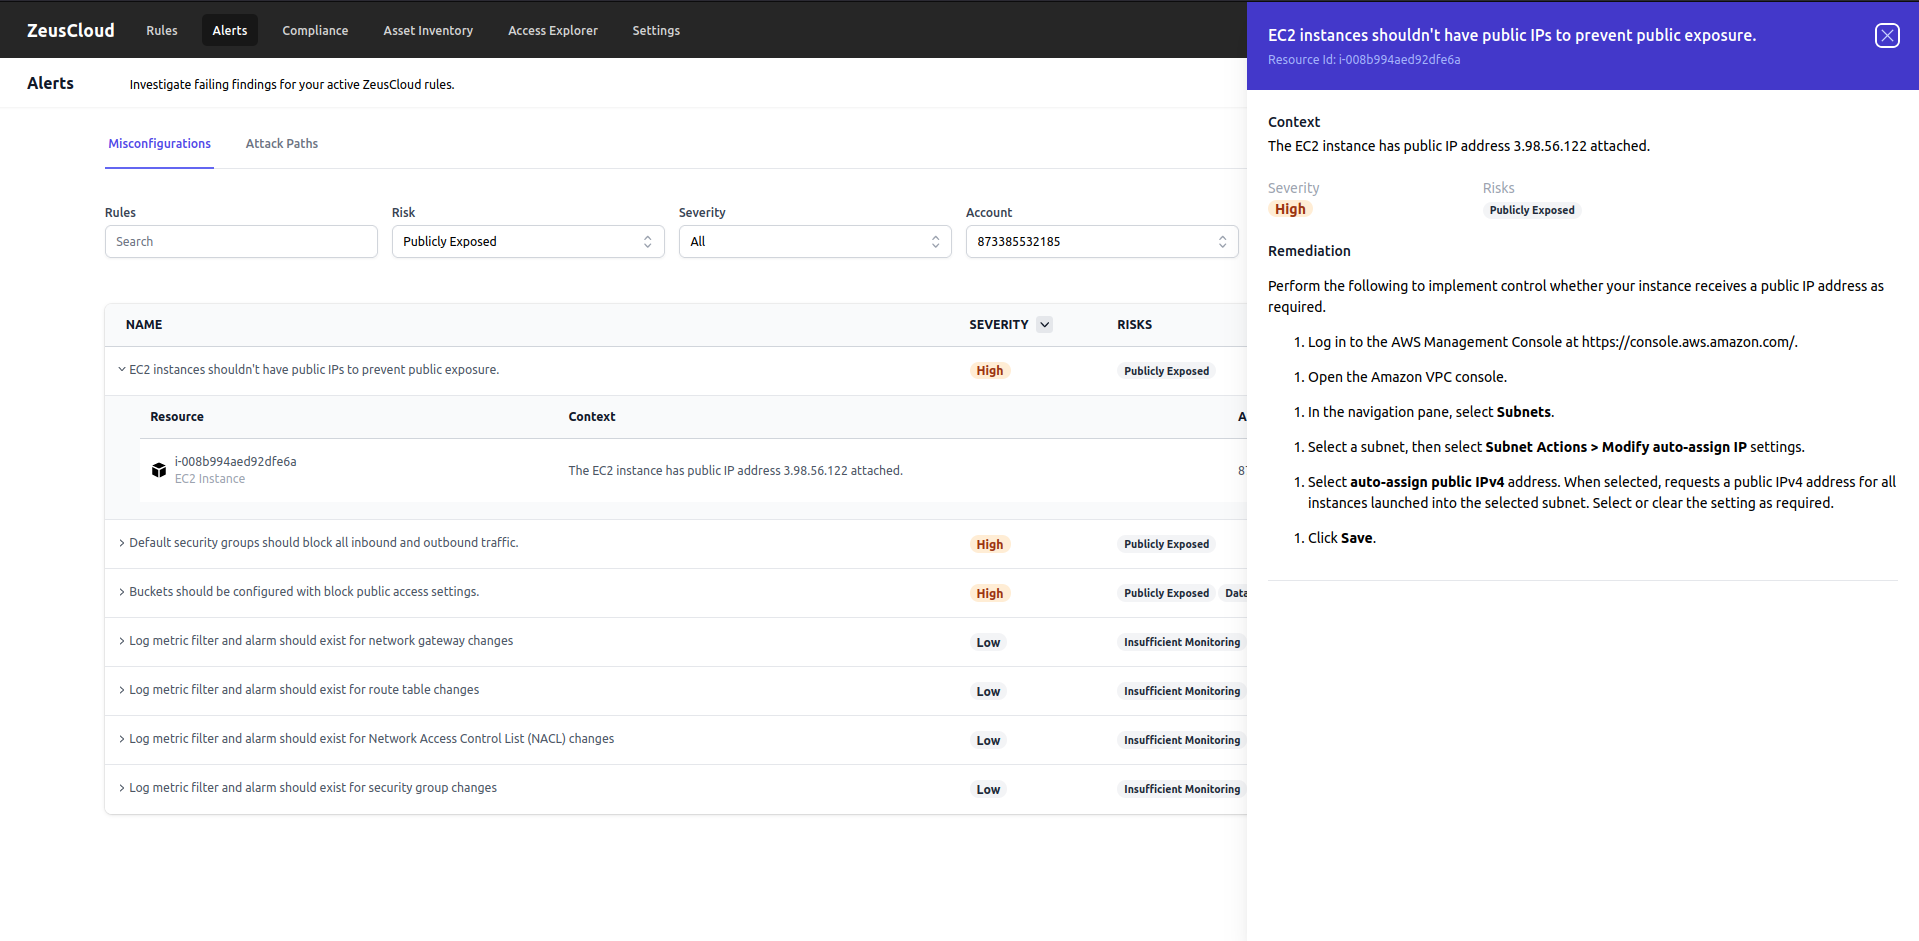
It provides a context for every alert. You can see what caused the Alert to fail and it also provides remediation steps to resolve the issues.
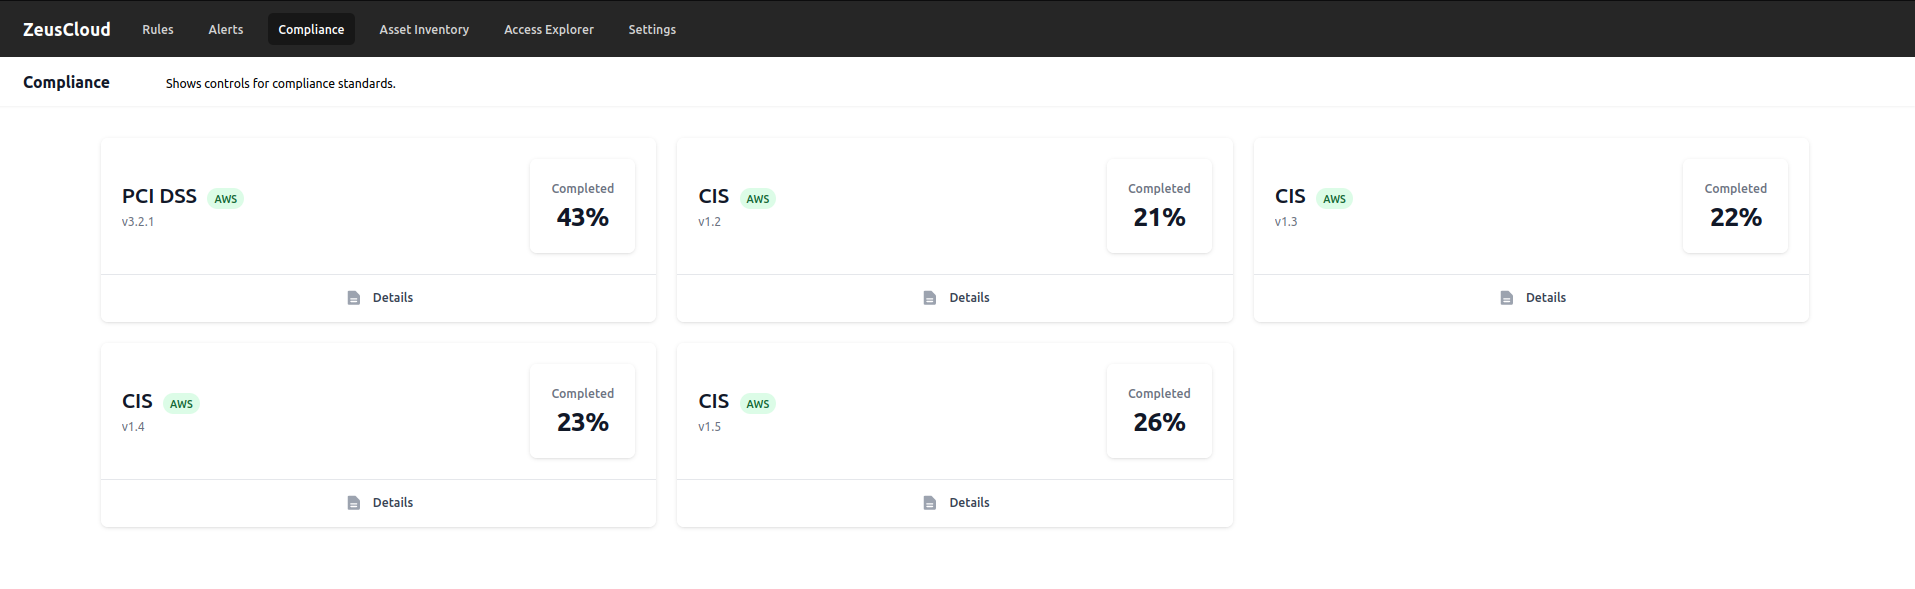
To check Compliance standards, visit the Compliance page. You can also view Details of each section.
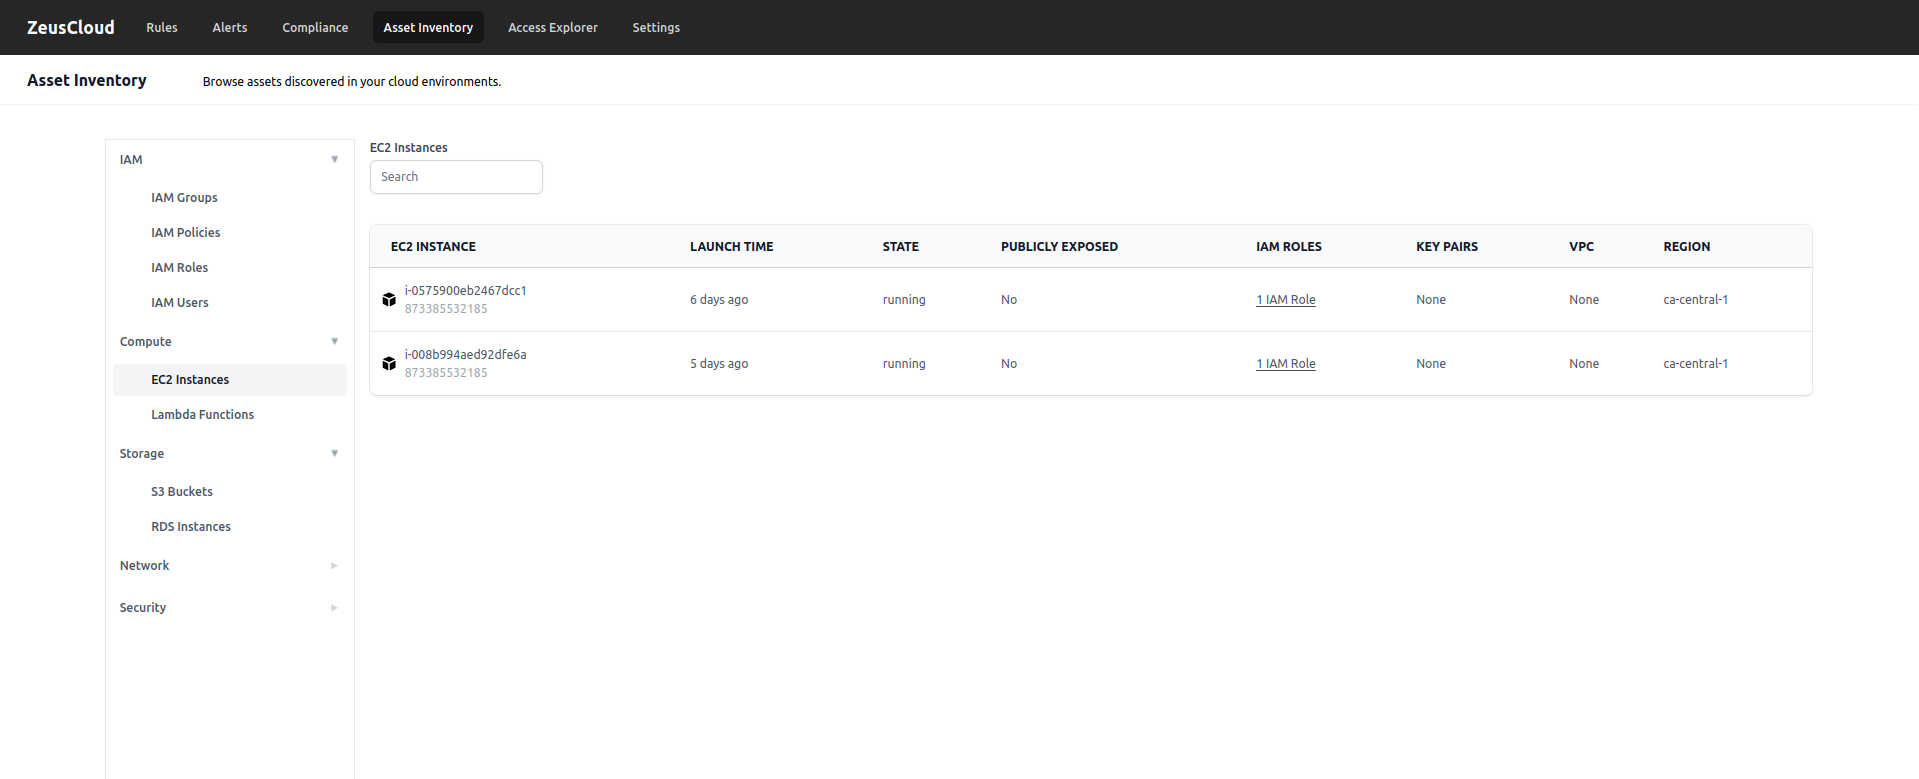
Visit the Asset inventory page to search for the assets or resources directly. You can see and filter the IAM, Compute, Storage, Network, and Security sections.
You can also Generate a report of the scan to store it in a secure location or to send it to someone as an attachment.
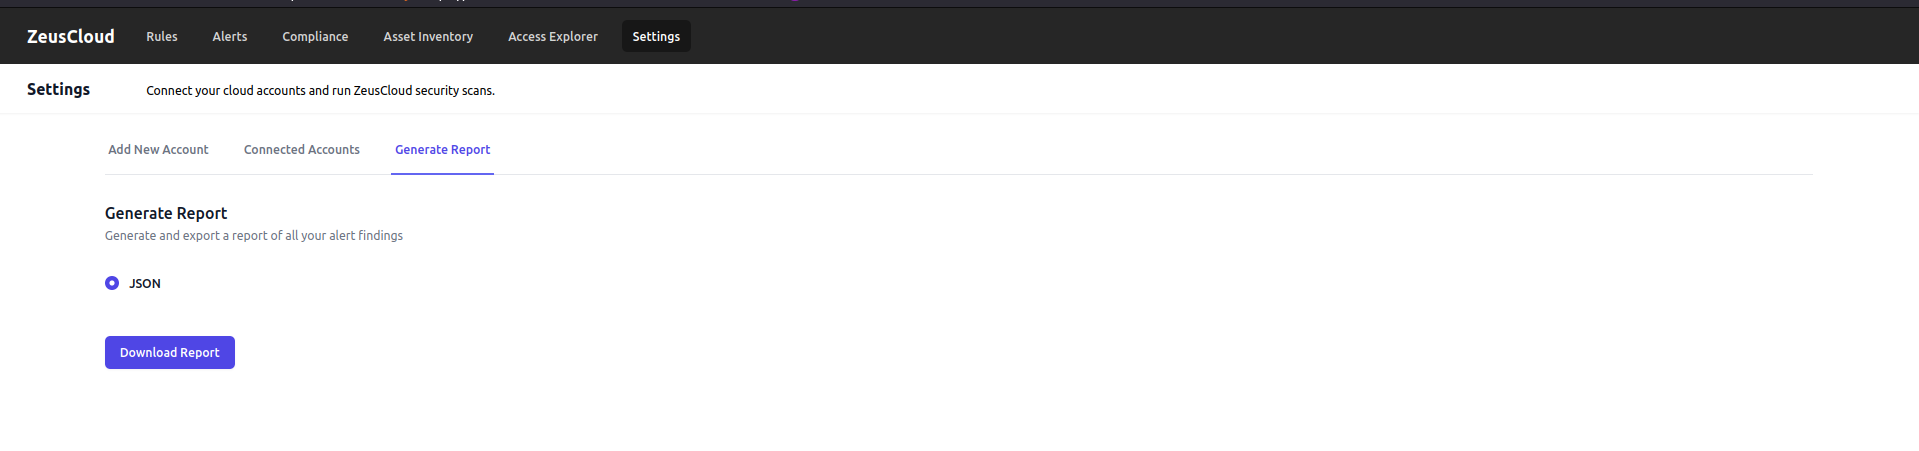
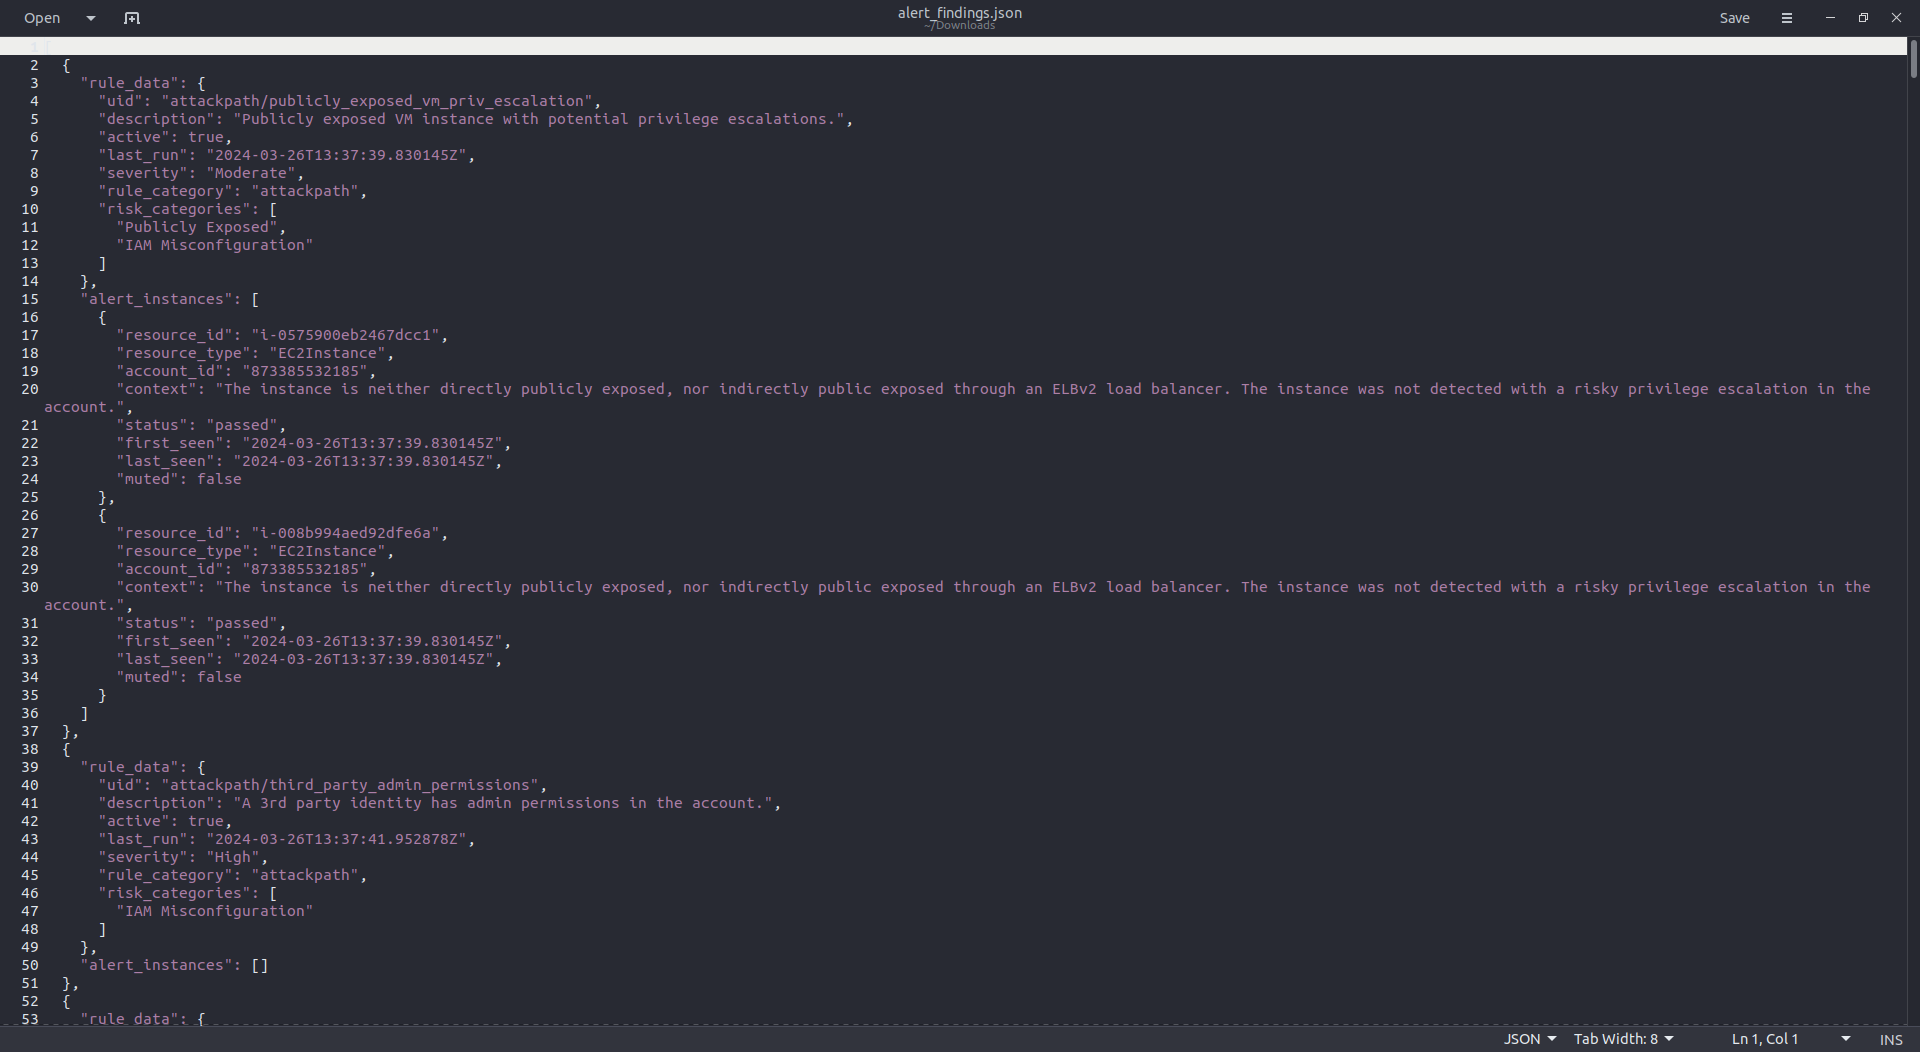
Once you click on Download Report, it will download the JSON in your local. The report looks like the image shown below:
Hey, readers! Thank you for sticking up till the end. This was a brief on spinning AWS resources using Spacelift and Terraform. If you have any questions/feedbacks regarding this blog, I am reachable at vidushi.bansal@nashtechglobal.com. You can find more of my blogs here.