


Introduction
In my previous post List All 3rd Party Packages Being Used In Your Project – Part 2: Create Your Own .Net CLI Tool, I promised that I’ll show you how we can publish the tool to the official NuGet website, then we can integrate and run it as a Task in an Azure DevOps CICD Pipeline. Let’s get started.
Uploading NuGet Package to NuGet Website
In order to upload a package, You need to register an account and sign in to NuGet website first, but How to register is very easy and out of scope of this demo.
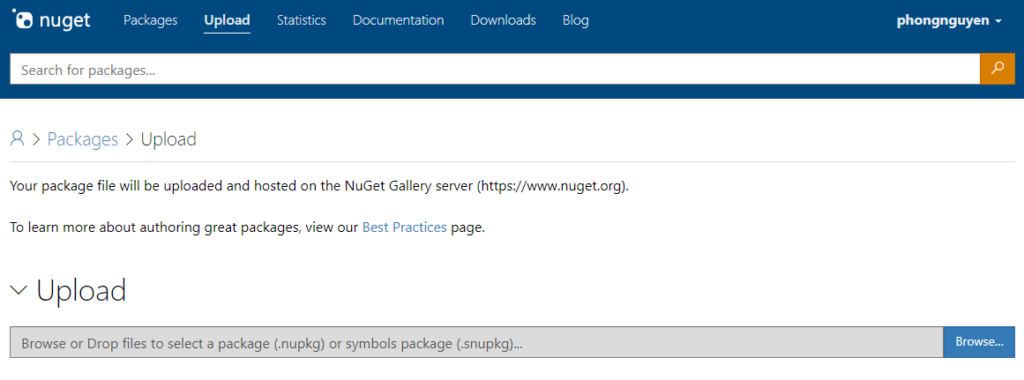
After signing in to the NuGet website, select the Upload tab to start uploading the package that we already published in the previous article.
After submitting, let’s wait a few minutes until the Status changes from Validating to Listed as shown in the below image.

Now the tool can be installed on any machine that has access to the NuGet website. Let’s move on to the next step.
Setting Up Azure CI Pipeline
To follow this demo, you have to register an Azure DevOps organization first, but How to register it is very easy and out of scope of this demo.
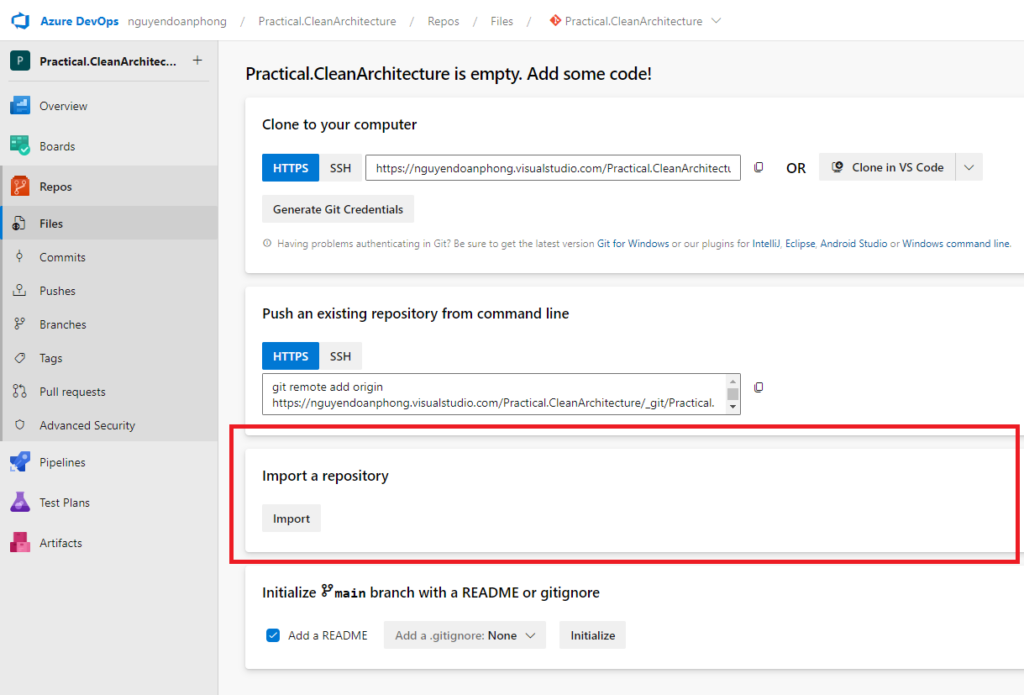
Sign in to your Azure DevOps org and create a new project ex: Practical.CleanArchitecture

Select Repos in the Navigation pane, in Import a repository section select Import button.
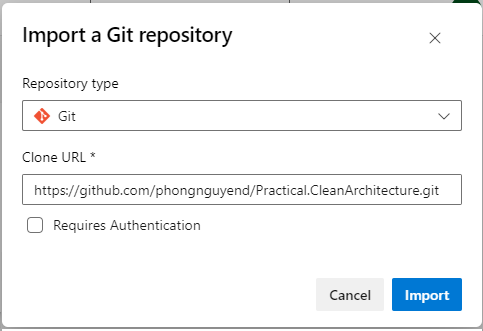
Copy and paste this clone URL: https://github.com/phongnguyend/Practical.CleanArchitecture.git and then hit the Import button.
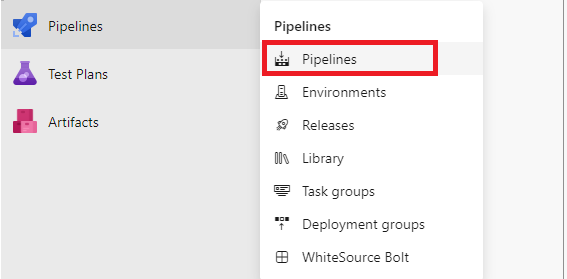
Wait for it to import successfully, and select Pipelines -> Pipelines to create a new yaml pipeline.
Copy and paste the below code into the azure-pipelines.yml file.
trigger:
  branches:
    include:
    - main
  paths:
    include:
    - src/Microservices

resources:
- repo: self

variables:
  # Agent VM image name
  vmImageName: 'ubuntu-latest'

stages:
- stage: DotNetBuild
  displayName: .Net Build
  jobs:
  - job: Build
    displayName: Build
    pool:
      vmImage: $(vmImageName)
    steps:
    - task: CmdLine@2
      displayName: dotnet tool install CheckNugetPackages.DotNetCliTool --global
      inputs:
        script: 'dotnet tool install CheckNugetPackages.DotNetCliTool --global'
    - task: PowerShell@2
      displayName: CheckNugetPackages
      inputs:
        targetType: 'inline'
        script: |
          cd src/Microservices
          CheckNugetPackages ./
    - task: PublishBuildArtifacts@1
      displayName: 'Publish packages.csv'
      inputs:
        PathtoPublish: 'src/Microservices/packages.csv'
        ArtifactName: 'packages.csv'
Click Save and Run button to save the yaml file and execute the pipeline right away. Wait for it to finish and you should see the result as below image:
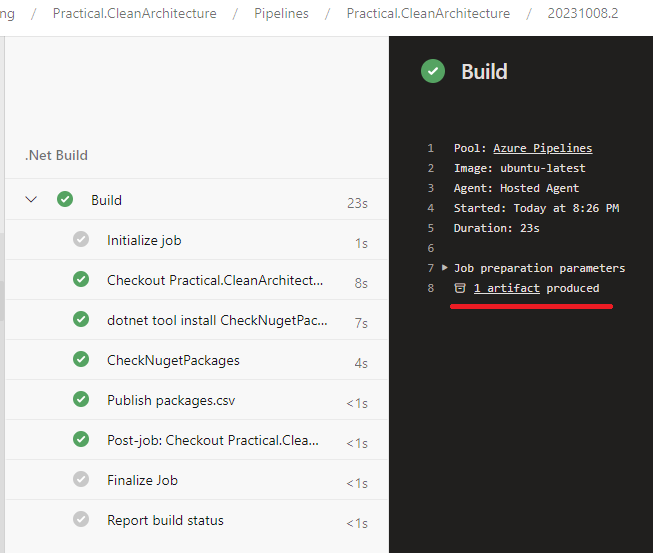
Follow the artifact’s hyperlink and download the packages.csv file.

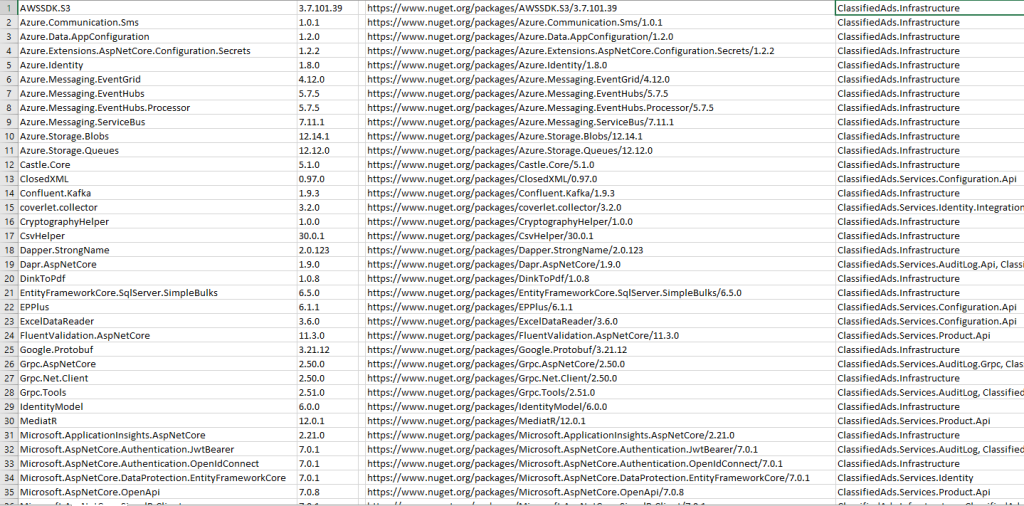
Now we have the same packages.csv file generated exactly in the 2 previous articles.
Wrapping Up
So far, we’ve seen how to create our application, publish it as a CLI tool, and execute it with Azure Pipeline to list all Nuget packages being used, next up we will continue to finish the tool to list all NPM packages, see you soon.