


We can use the Serverless Framework to develop and deploy AWS Lambda functions. It’s a CLI that offers structure, automation, and best practices out of the box. So that allows you to focus on building sophisticated, event-driven, serverless architectures comprised of Functions and Events.
Today, we will hand-on build a serverless app to understand aws serverless concept. Before running this article, you need to prepare some needed below:
- Setup your local Node.js or set up a standalone serverless framework
- Create IAM User Account and access key
Create IAM User Account and AccessKey
The assumption is that you already have AWS Account and know how to create IAM User Account. So next step, we will create an IAM User account and choose/ create policies for this account.
Create an IAM User Account
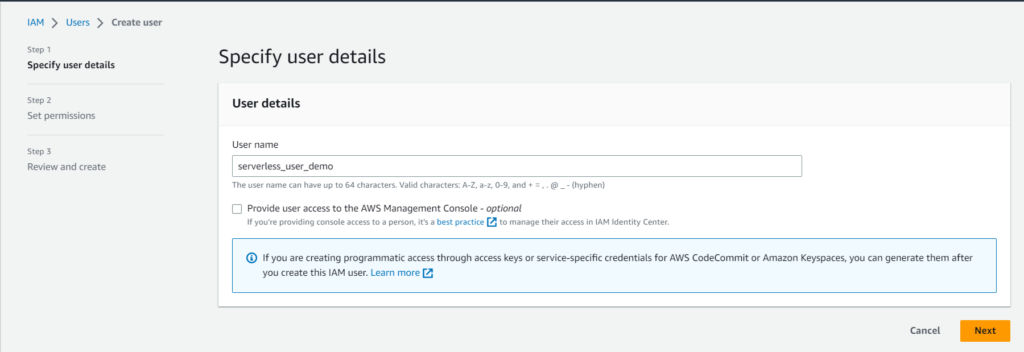
Step 1: Create a new IAM user
Access your AWS Account, choose IAM -> Users -> Create user
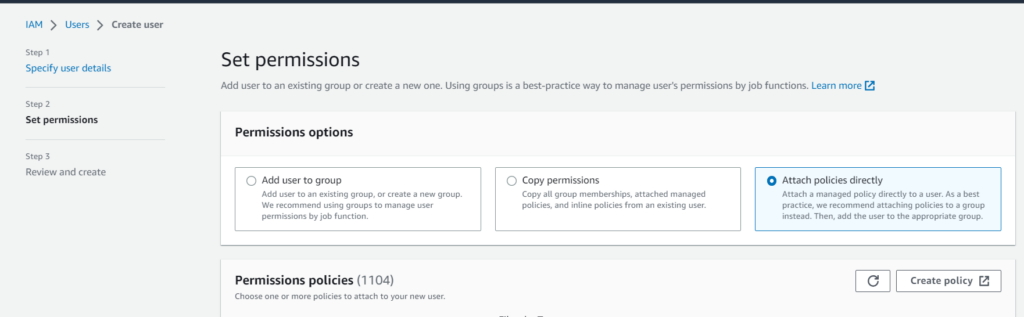
Step 2: Set permissions for the user
In step 2, we can choose some options for setting permissions. But we will choose “Attach policies directly” for ease.
In our demo, we will build a Rest API with Node.js, and serverless will deploy to AWS Lambda. The serverless framework will use AWS Cloudformation to build AWS resources. And their states will be stored in AWS S3. Indeed, we will need AWS Lambda to build our serverless function. Because of our Rest API, we need to use AWS API Gateway.
Besides that, the serverless framework will create a role to manage their serverless function and need to log their state. So we need to set permission for IAM and Logs.
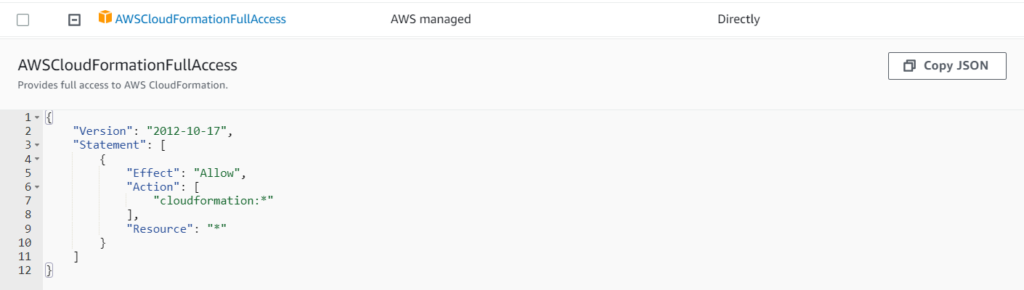
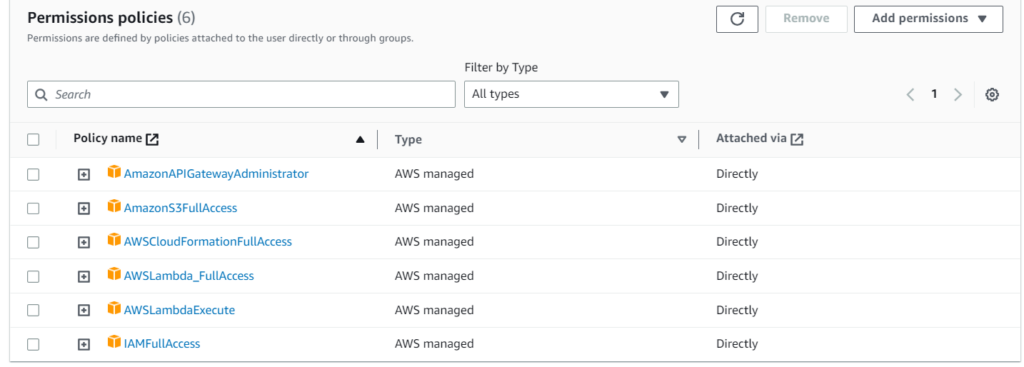
AWS Cloudformation Full Access: Users need this permission to control Cloudformation.
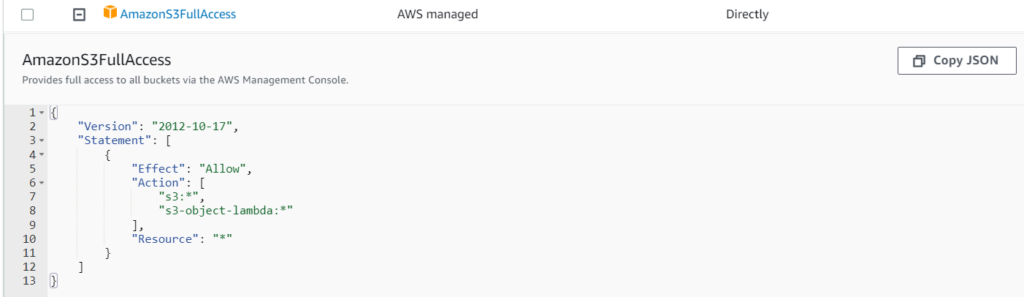
AWS S3 Full Access: This policy allows full access to AWS S3.
AWS Lambda Full Access: This permission allows users to interact with Lambda functions.

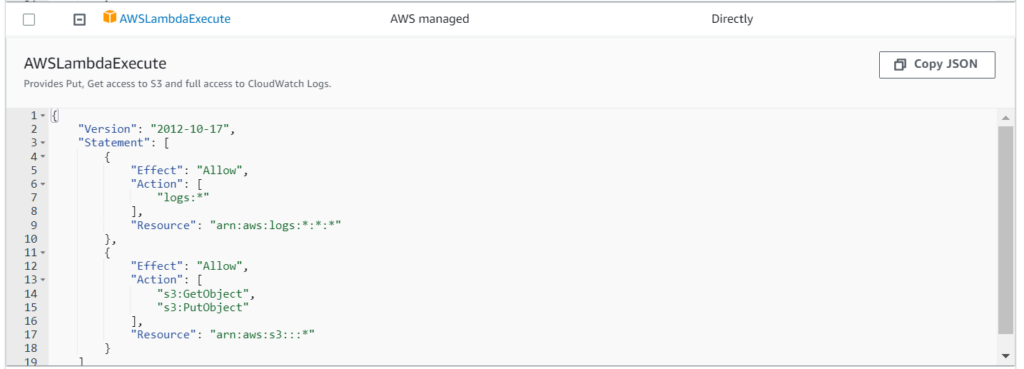
AWS Lambda Execute: This permission allows users to use logs and S3.
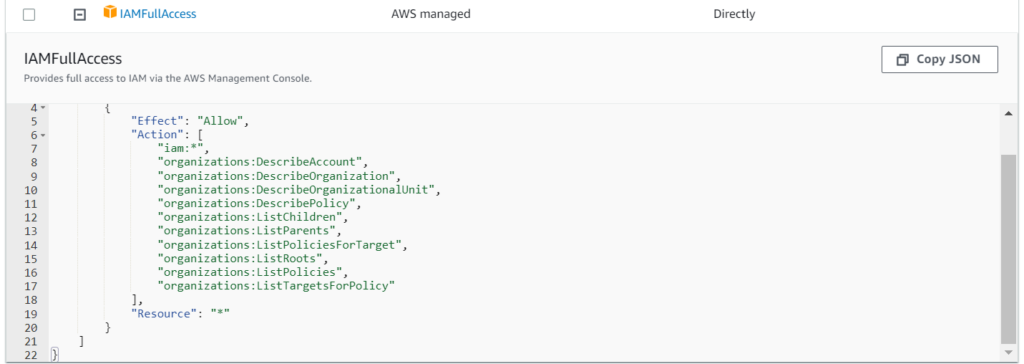
IAM Full Access: This permission allows users to handle IAM, such as creating roles, deleting roles, etc.
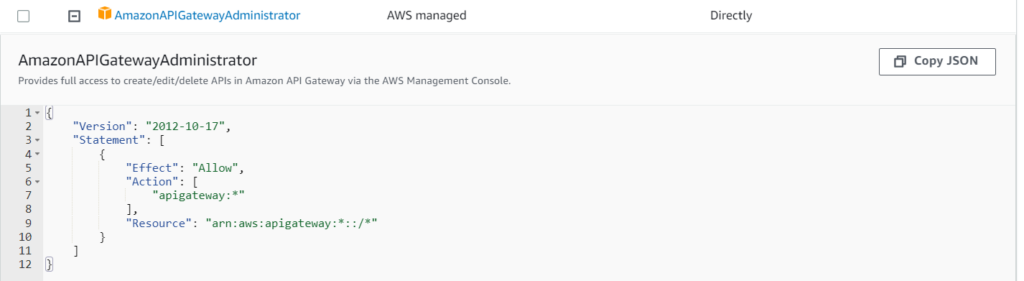
Amazon API Gateway Administrator: Users need this permission to create API by API Gateway.
So after that, we will have a list of below policies:
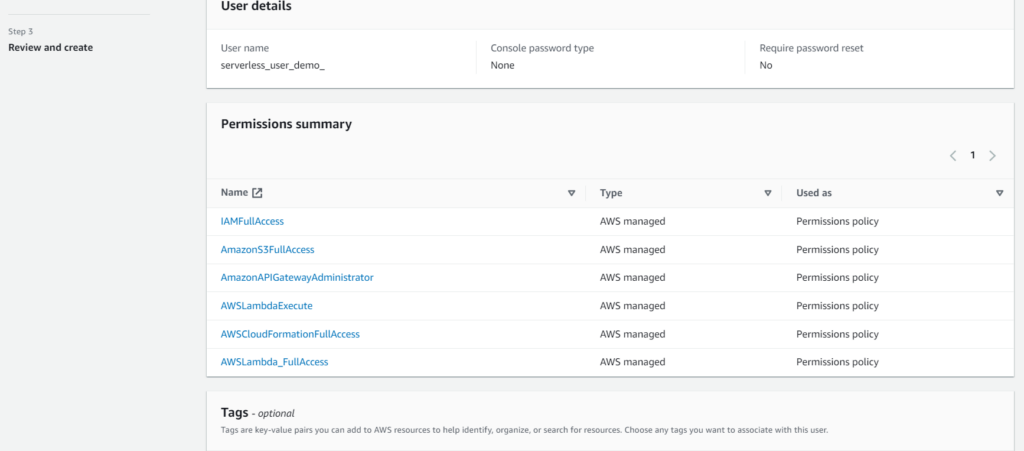
Step 3: Review and Create
After finishing step 2, we will come to the final step. At this step, we will have a review and button to complete creating the user.
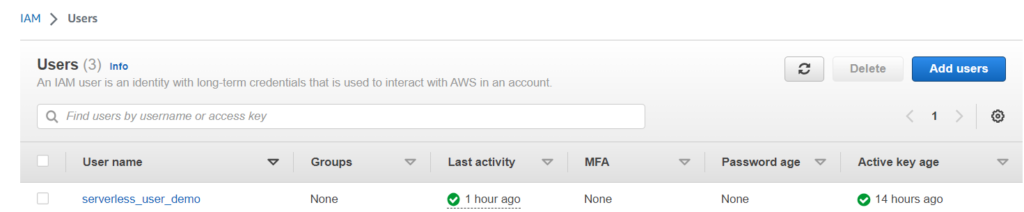
After that, we return to the IAM -> Users page and see the created user.
Create an Access Key for the created user.
Click on the name of the created user, and we will go to the detail page of the created user.
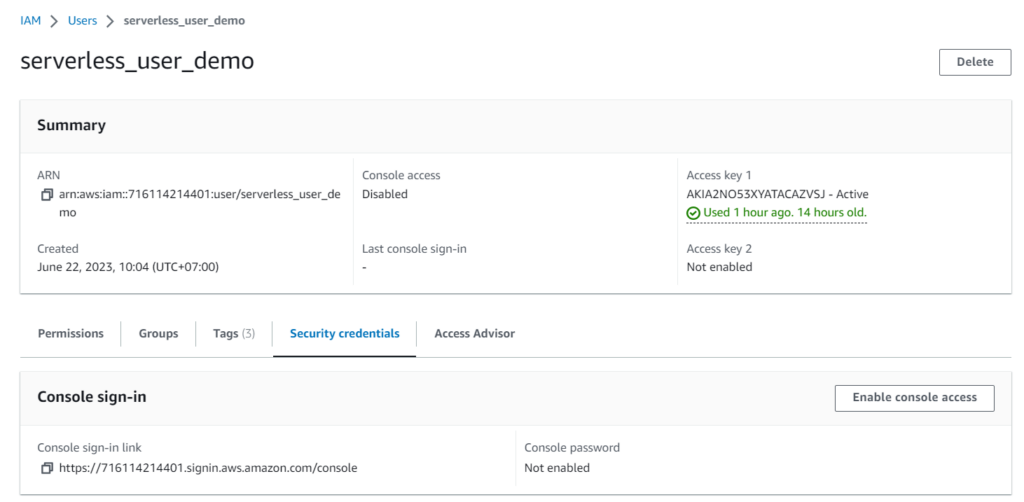
Scrolling down at the Security credentials tab, we can see where to create a new access key.

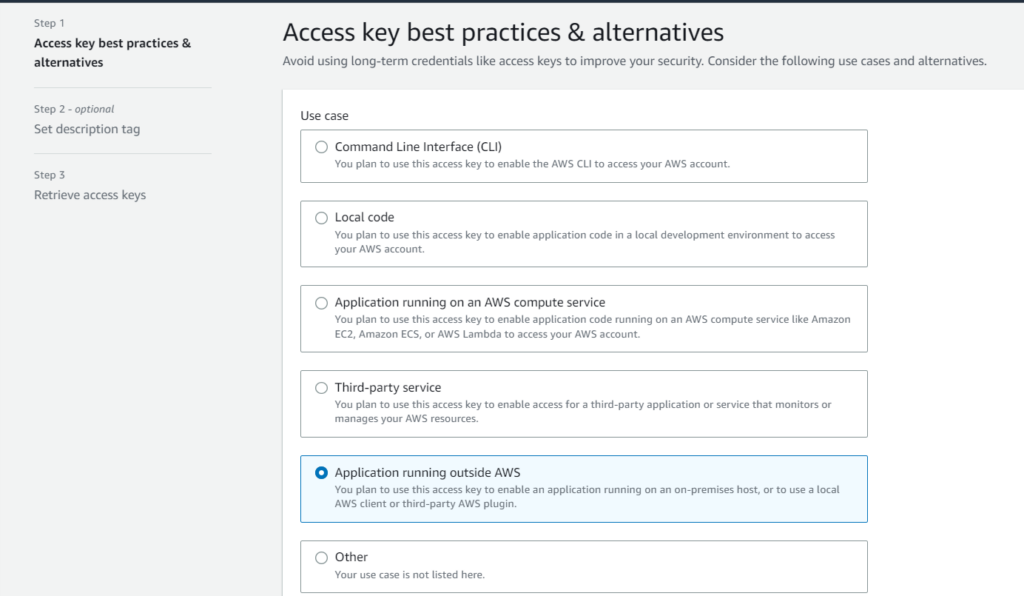
Step 1: Access key best practices & alternatives
In step 1, AWS allows users to choose their access key purpose. Based on descriptions, users can understand how to use the access key, and should or not.
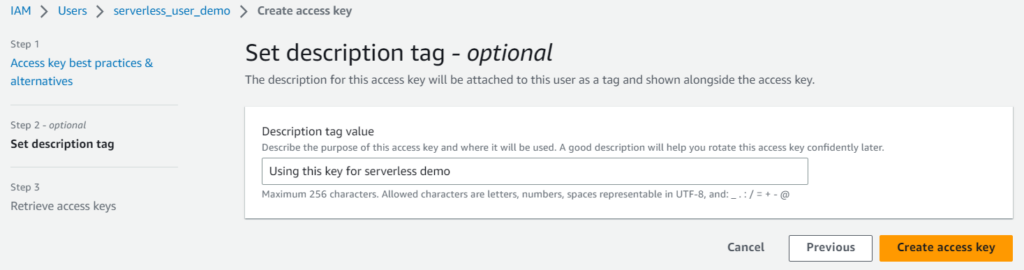
Step 2: Set description tag – optional
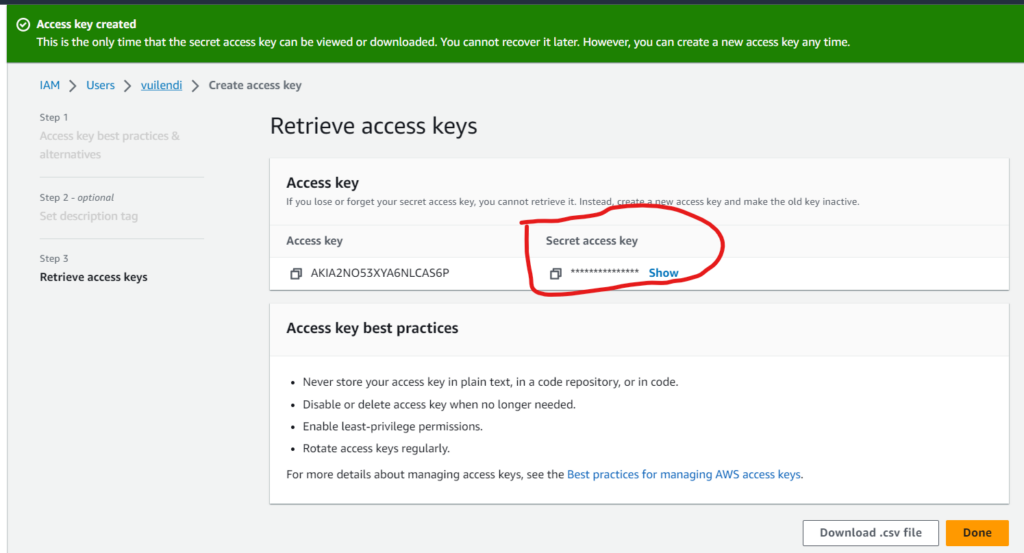
Step 3: Retrieve access keys
On this page, you can receive your access key. But please copy the access and secret access keys to your security note. After that, you can’t get back the secret access key.
Build your first serverless application.
Create a project folder before starting the code, and open your terminal in your IDE (such as Visual Studio Code) to start your command line.
Step 1: Install the serverless framework by npm
npm install -g serverlessAfter that, we can use the command serverless or sls
Step 2: Run the command to initiate the project
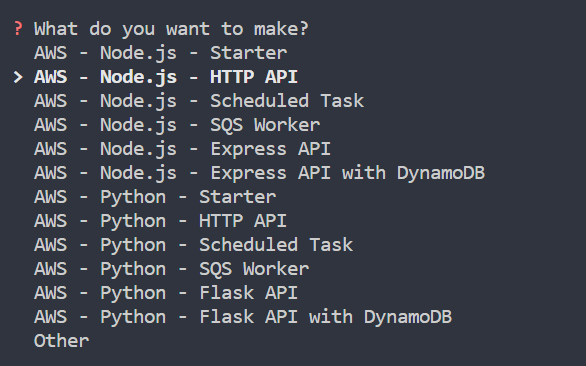
slsWhen we run this command, we see some questions from the serverless framework.
Choose Project Type: we will choose Node.js – HTTP API
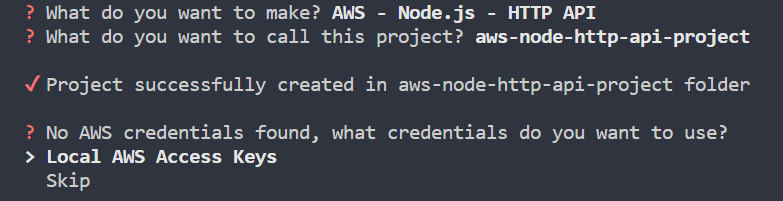
Choose AWS credentials: If we don’t set up any AWS credentials, we should choose Local AWS Access Keys.
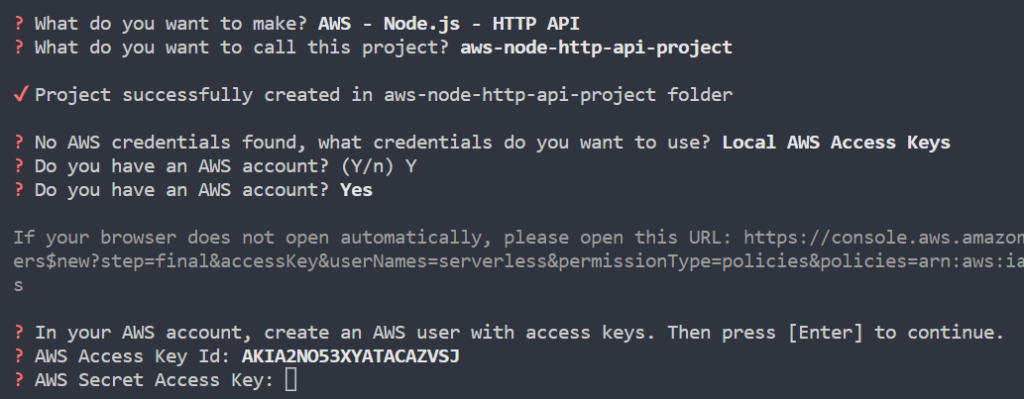
Input your keys: We will use the created access key and secret key to input.
Choose deploy now: If you want to deploy to AWS, you can choose Y.

Deploy success: After waiting, we can succeed at the deployment step.
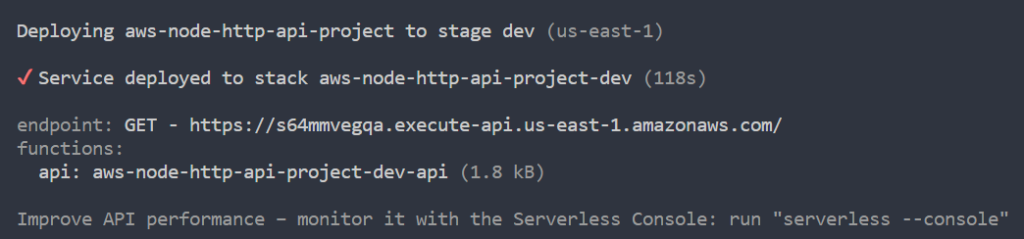
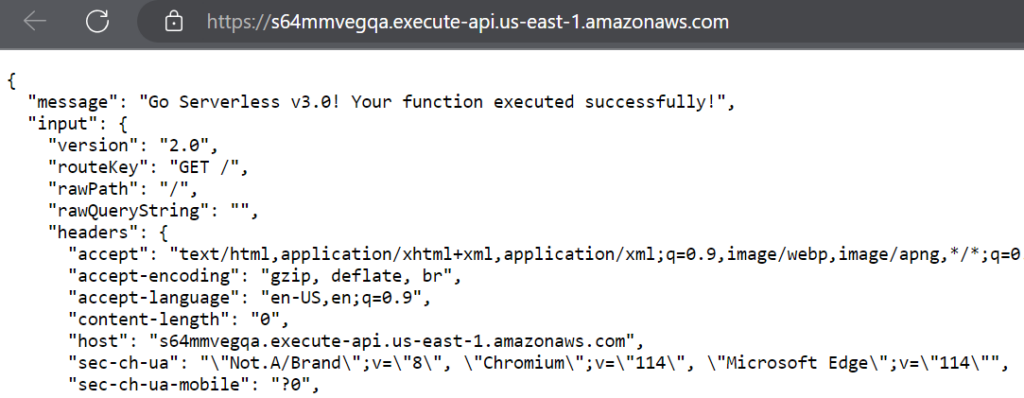
We can click the endpoint link to review the result.
Step 3: Check functions locally.
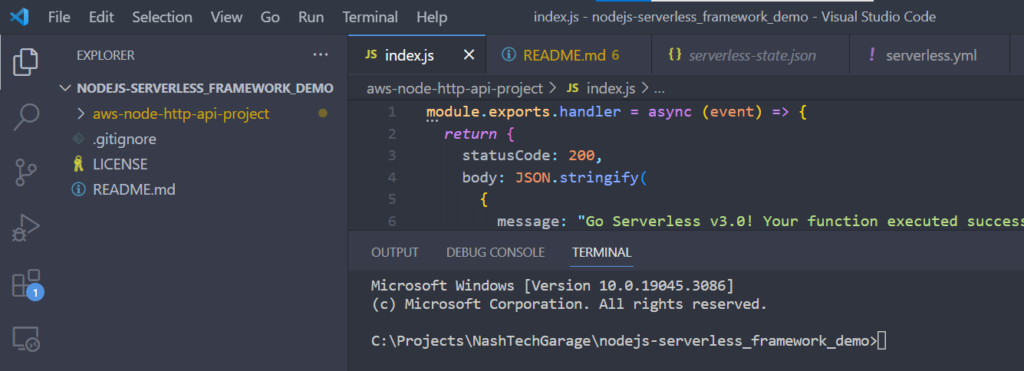
The question is how to check functions locally. Firstly, we need to understand the structure of the serverless framework.
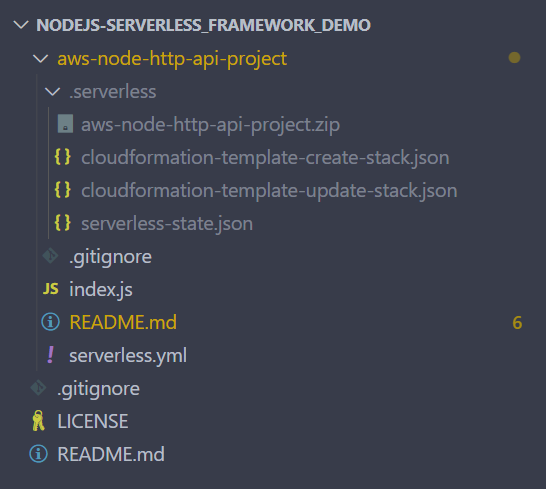
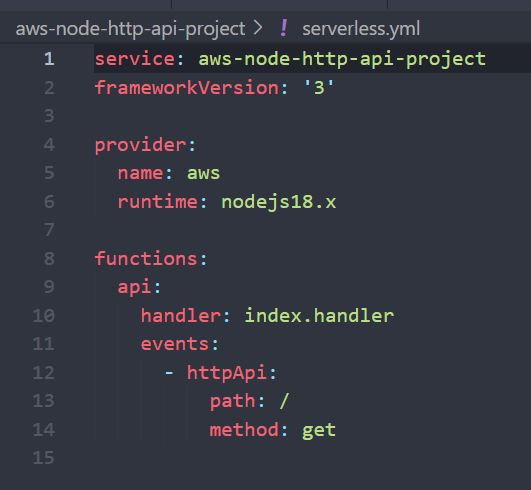
serverless.yml: Define a structure to notify the serverless framework where to run source code and the name of functions. For example, this file will say that we want to build a service nameaws-node-http-api-projectwithnodejs18and functions, we have a nameapiatindex.handler
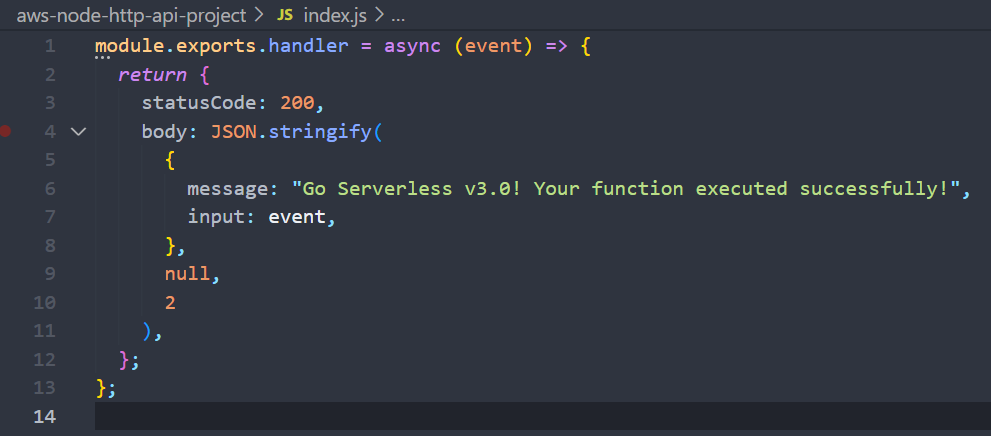
index.js: This file will store Node.js code to handle when end-users access the endpoint.
After that, we can run this command to check the result from the function api
sls invoke local --function apiSummary
That’s enough for a short demo of the serverless framework. After that, you can see this advantage in building a serverless. And I want to call back your memory about FWA (Functional Web Application); serverless is one of many ways to implement FWA.