


Continue the previous blog: AWS App Runner – Why and Price. Today, we will build a simple Node.js application. After that, I hope we will have the same background when discussing AWS App Runner.
Introduction:
Deploy containerized web applications and APIs at scale.
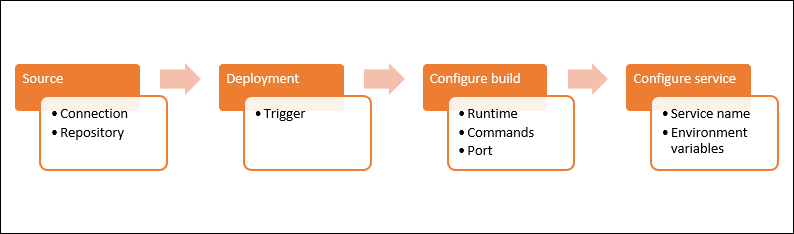
This fully managed container application service allows building and running secure web applications at scale without prior container or infrastructure experience. You can have a look at the below outline. After that, we will go step by step to build a simple Node.js website.
Open the AWS App Runner Console
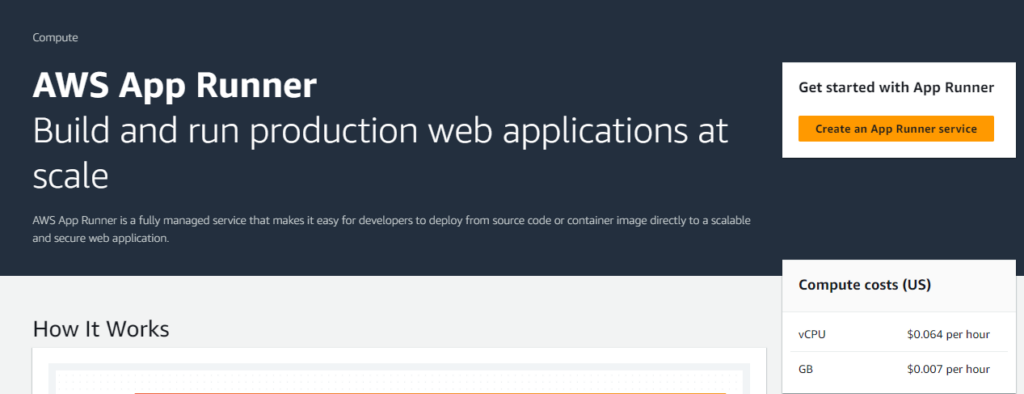
When we go to the AWS App Runner console, we can click the “Create an App Runner service” button to create a new service. After that, we follow step by step to create a new service.
Step 1: Source and Deployment
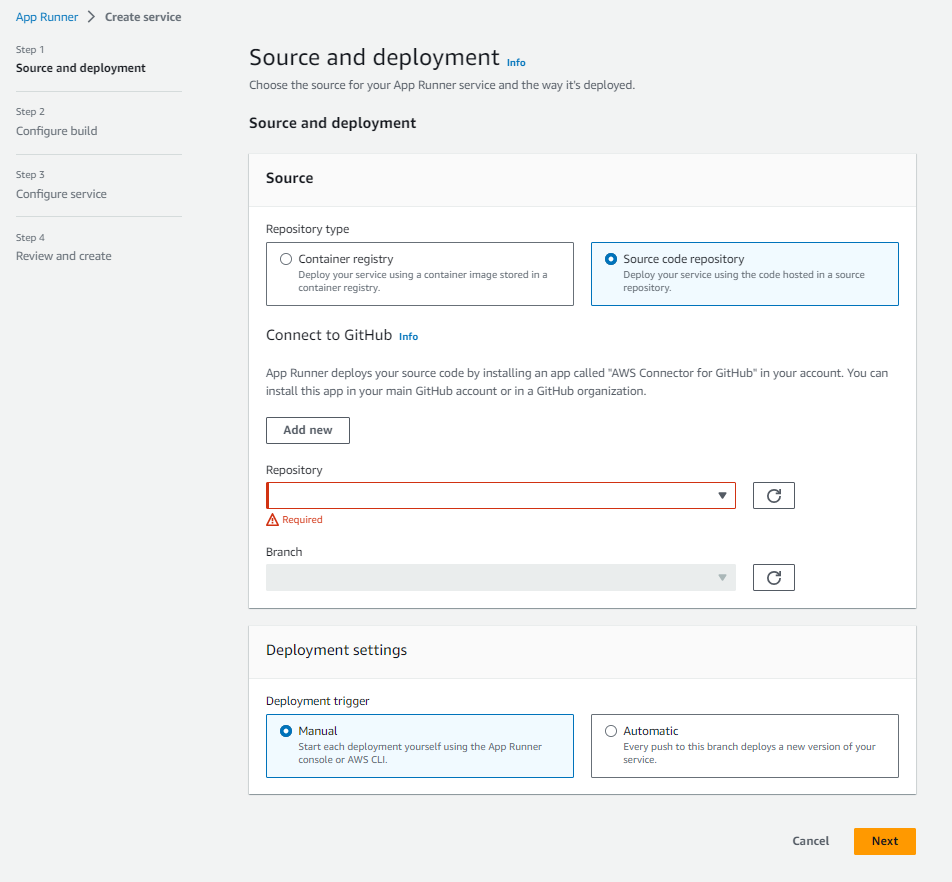
We can choose Container registry or Source code repository at the repository type. In this example, we will choose the Source code repository.
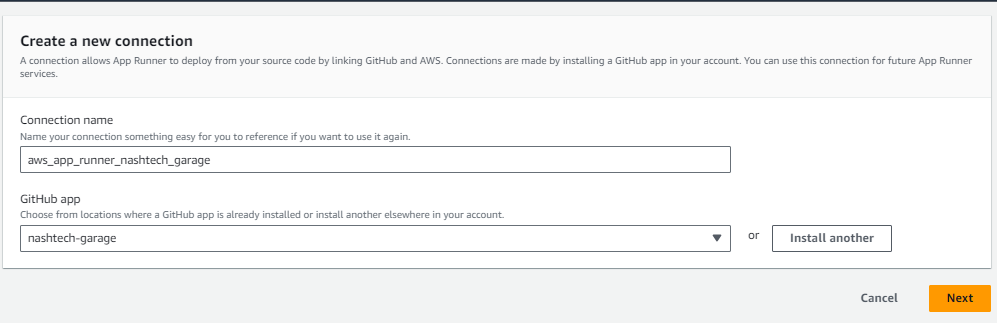
Click the “Add new” button to create a connection to GitHub
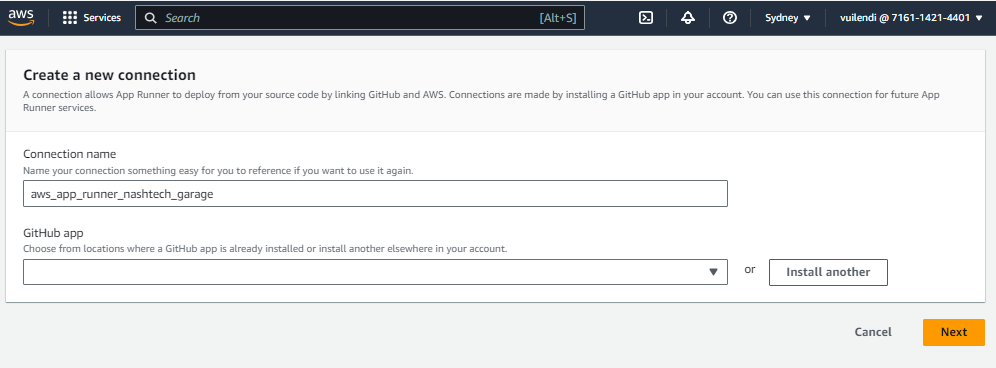
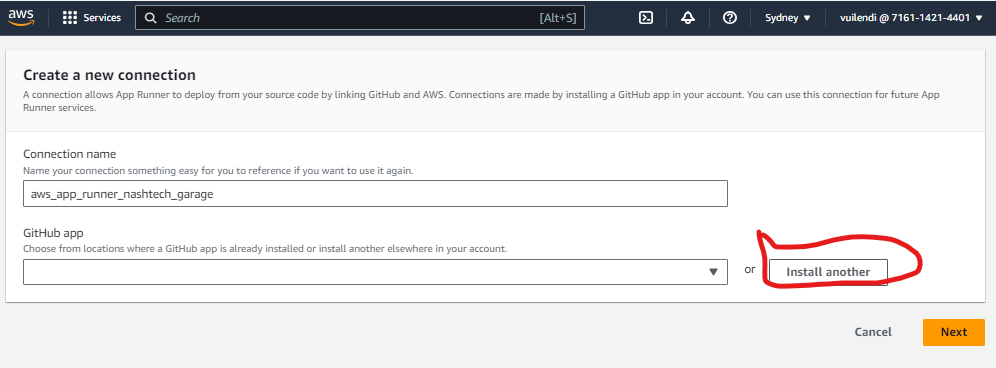
After clicking the Install Another button, it will require permission to connect to the GitHub app
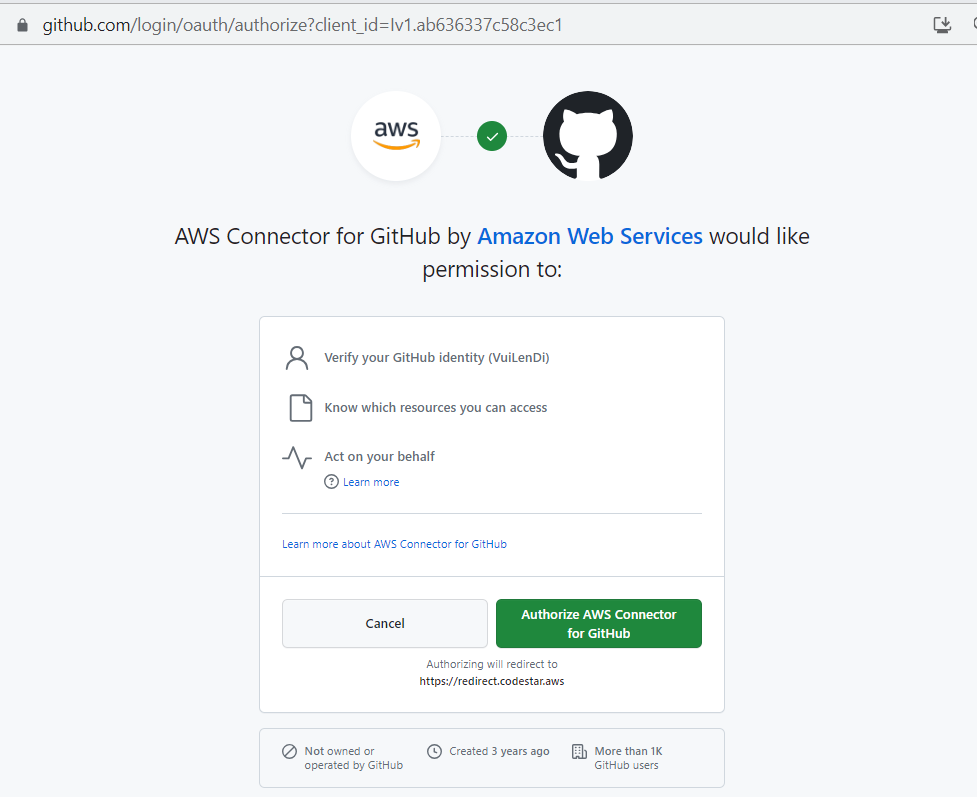
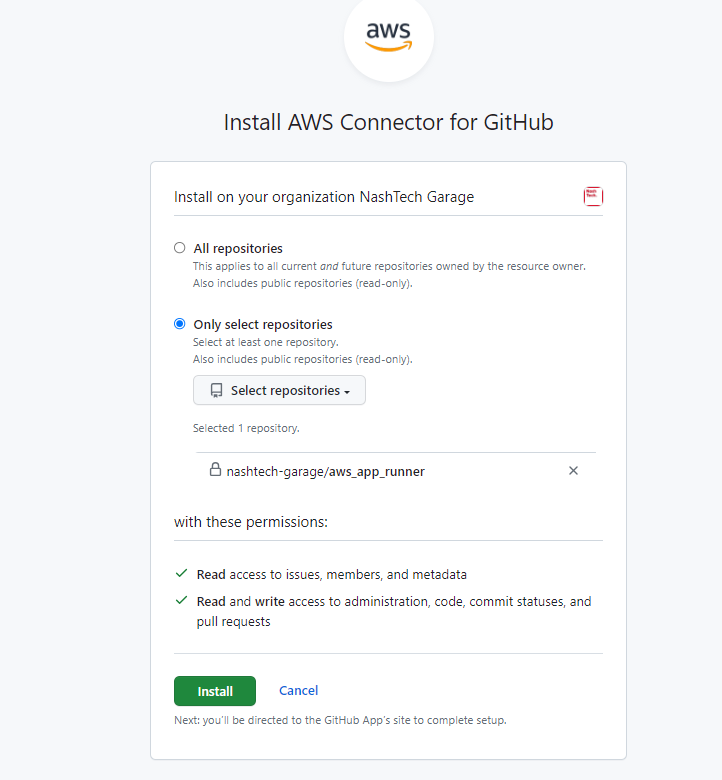
When you click the green button, we will go to the next page to ask you about the GitHub level you want to Install AWS Connector: Account, Org.

Step 2: Configure build
In this step, we have two options:
- Configure all settings here: This is a manual step; you must set up all configurations yourself.
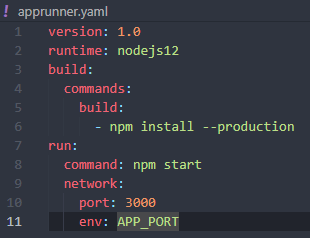
- Use a configuration file: Create apprunner.yaml and define all your configurations.
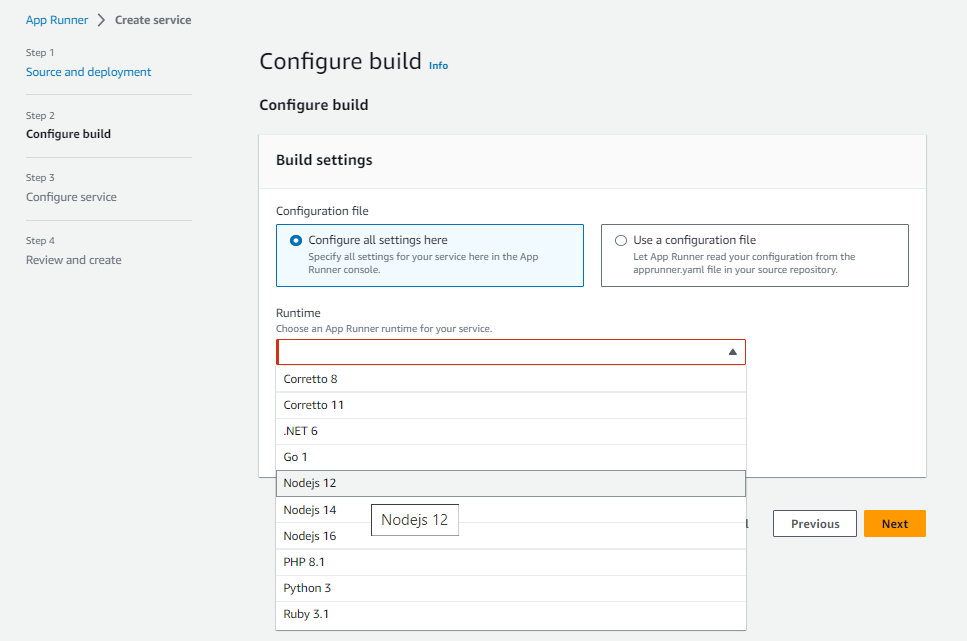
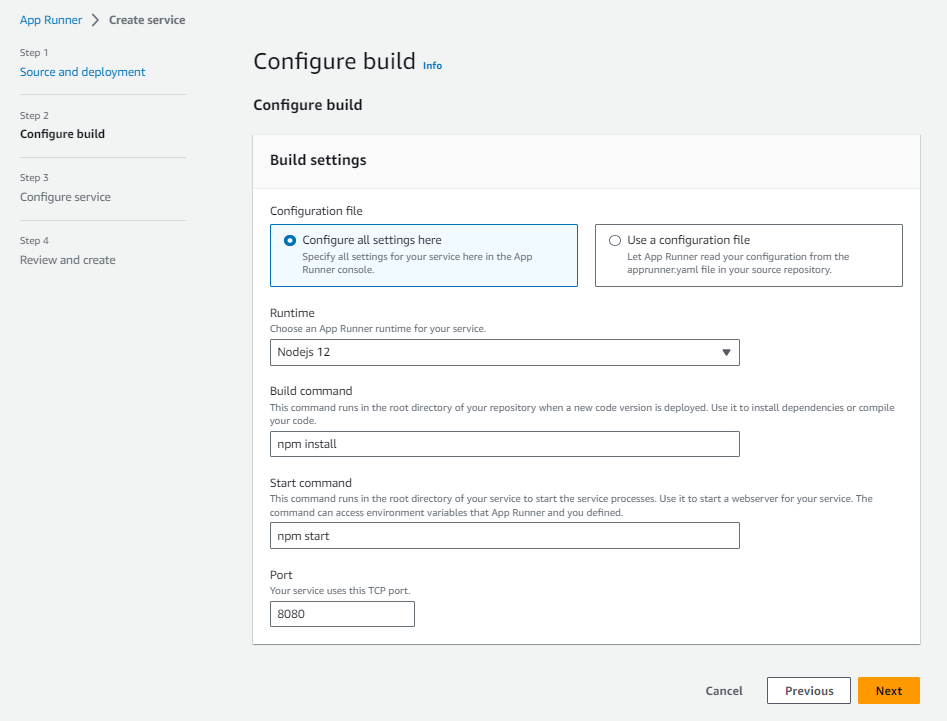
At step 2, we can configure the manual or create apprunner.yaml in the code folder.
Step 3: Configure service
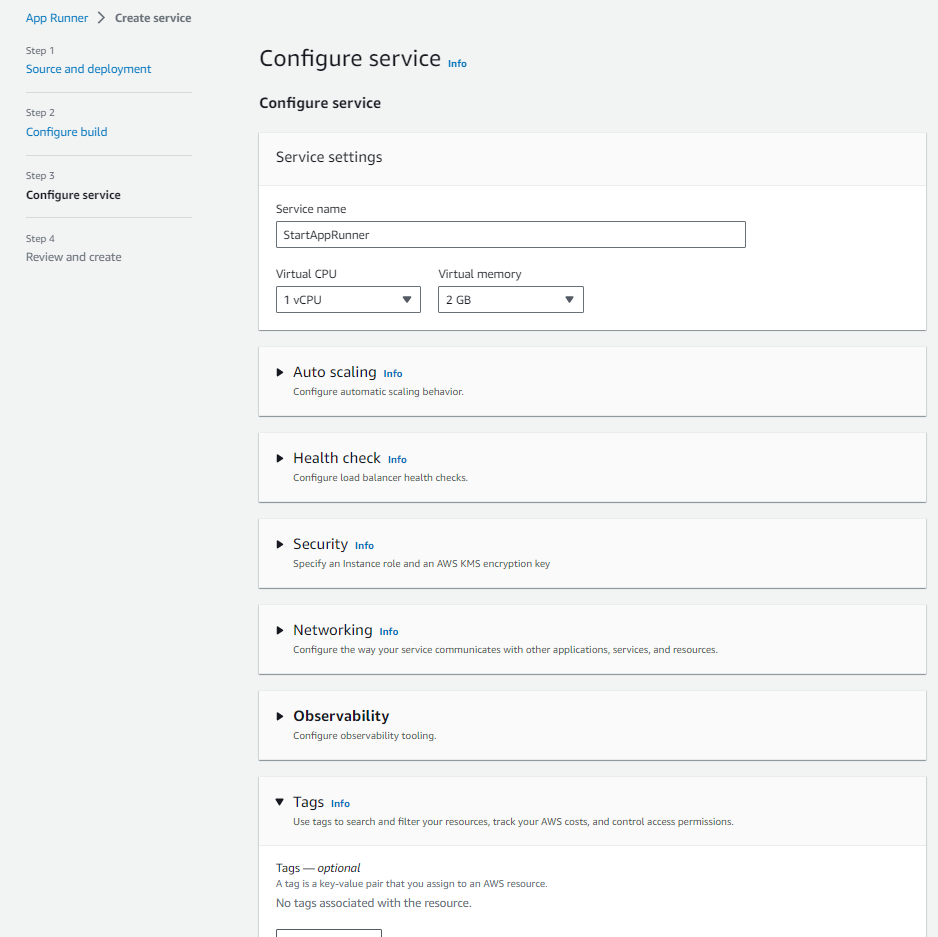
At this step, we can choose a configuration for the service.
Step 4: Review and create
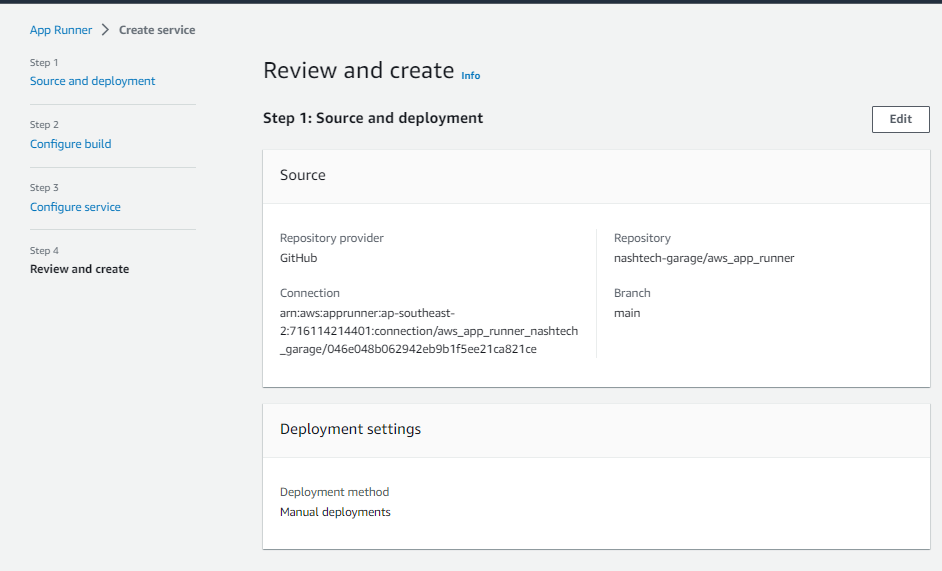
Finally
After finishing step 4, we can see the dashboard of the StartAppRunner Service.
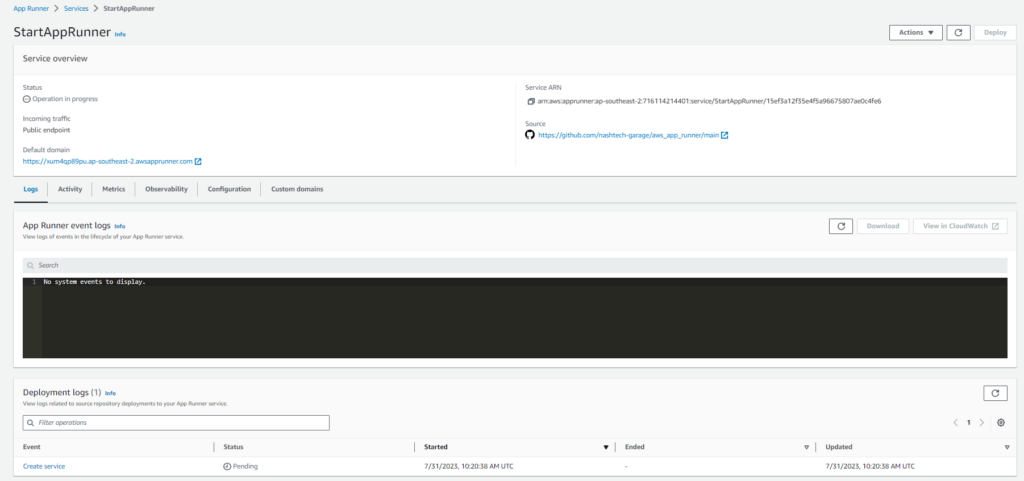
Wait some minutes (5min), we will see the result
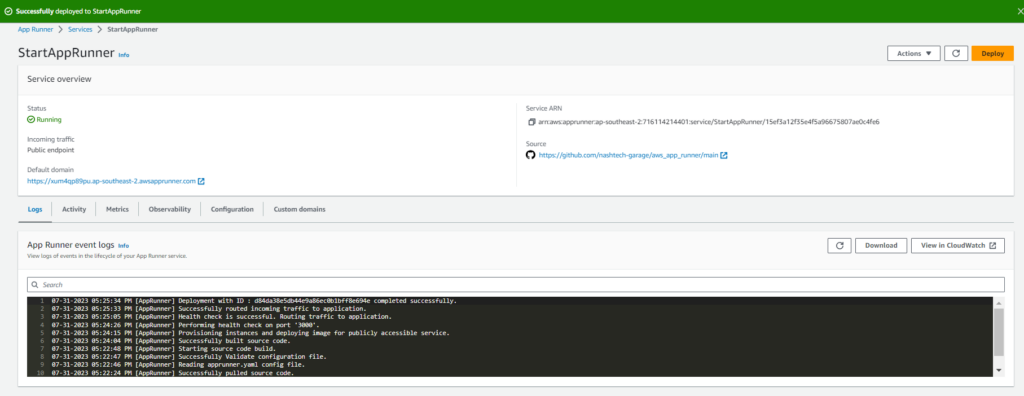
If our code has a problem, the service will automatically roll back.
Because we chose manual, if we want to deploy again, click the “Deploy” button.
Read more: