


Introduction
Overview of Delta Live Table
Delta Live Tables is a tool that helps you build data processing pipelines more simply and reliably. Instead of writing individual tasks for each step in your pipeline, you just tell Delta Live Tables what transformations you want to apply to your data.
You can also set expectations for your data quality. If any records don’t meet those expectations, Delta Live Tables can handle them according to your instructions. This helps ensure that your data stays clean and reliable throughout the processing pipeline. For more information refer to this
Advantages of Delta Live Table
1. Real-time Updates: Delta Live Tables allows for real-time updates and streaming ingestion of data.
2. ACID Transactions: Delta Live Tables provides ACID transactions, ensuring that data operations are atomic, consistent, isolated, and durable.
3. Schema Evolution: With Delta Live Tables, you can evolve your table schema over time without any downtime or disruptions to your data pipelines.
4. Data Versioning and Auditing: Delta Live Table automatically versions your data every time it’s modified, providing a full history of changes with the help of Delta Lake.
5. Data Quality: The Delta Live table ensures the quality of the data.

How to Configure the First DLT Pipeline

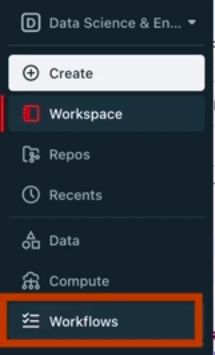
1. Login to Databricks account. On the Databricks UI Dashboard, Switch to Data Science & Engineering.
2. Navigate to Workflows
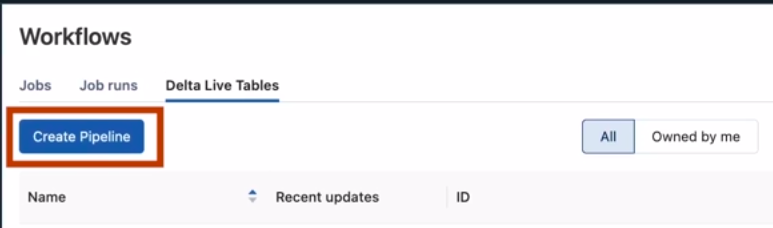
3. Now switch to Delta Live Tables and click on Create Pipeline. After that, you have to configure the details of the Pipeline
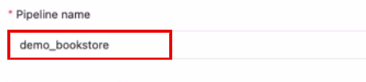
4. Give the name to the pipeline

5. Select the Notebook libraries, in this you have to select the notebook that contains the Code either in SQL or Python
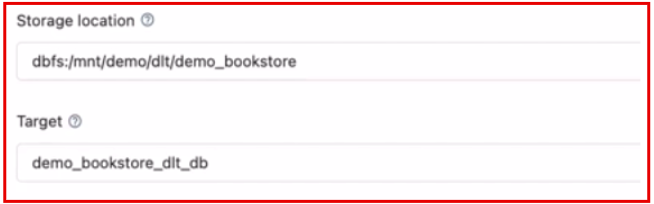
6. In Storage Location, set the destination to store the output data. If you don’t set then it will select the default storage.
Example: dbfs: /mnt/demo/demo_bookstore/
Target is the sub-directory of location. If you define this then the data is stored inside the target.
Example: dbfs: /mnt/demo/demo_bookstore/demo_bookstore_dlt_db

7. Select the pipeline mode either Triggered or Continuous.
i. Triggered pipelines are used to manually run the pipeline or schedule the pipeline.
ii. Continuous pipelines are used to continuously run the pipeline after a set interval of time and it needs compute to run all the time. It is costly
8. You can also select the number of workers for autoscaling purposes and photon Acceleration.


9. Now click on Create it will create the Pipeline for you.
10. You have multiple options like in which mode you want pipeline Development or Production, to delete the pipeline, change the permission, schedule the pipeline, etc.
Now click on the Start button to start the pipeline.

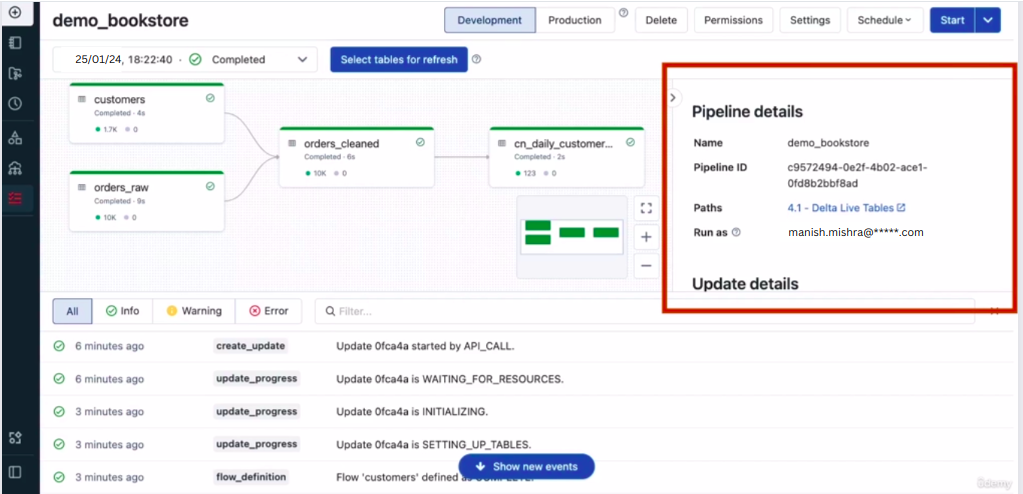
Delta Live Table Pipeline Dashboard
When you click on the Start button the DLT Pipeline will start and it takes some time to start the cluster that is attached to the Delta Live Table Pipeline. After that, within one minute it will create the structure of the consumed data and by clicking on the table you can check the data quality as well.
Conclusion
In conclusion, Delta Live Tables emerges as a powerful solution for streamlining data processing pipelines with its intuitive approach and robust features. Its real-time updates, ACID transactions, schema evolution capabilities, data versioning, time travel functionality, and focus on data quality ensure efficiency and reliability throughout the pipeline lifecycle. With seamless configuration options and an intuitive dashboard, Delta Live Tables empowers users to efficiently manage and optimize their data workflows on Databricks, enhancing productivity and data integrity. For more information refer to this
Related Article

Delta Time Travel

Data Quality Check on Databricks Unity Catalog

Databricks All-Purpose Cluster